


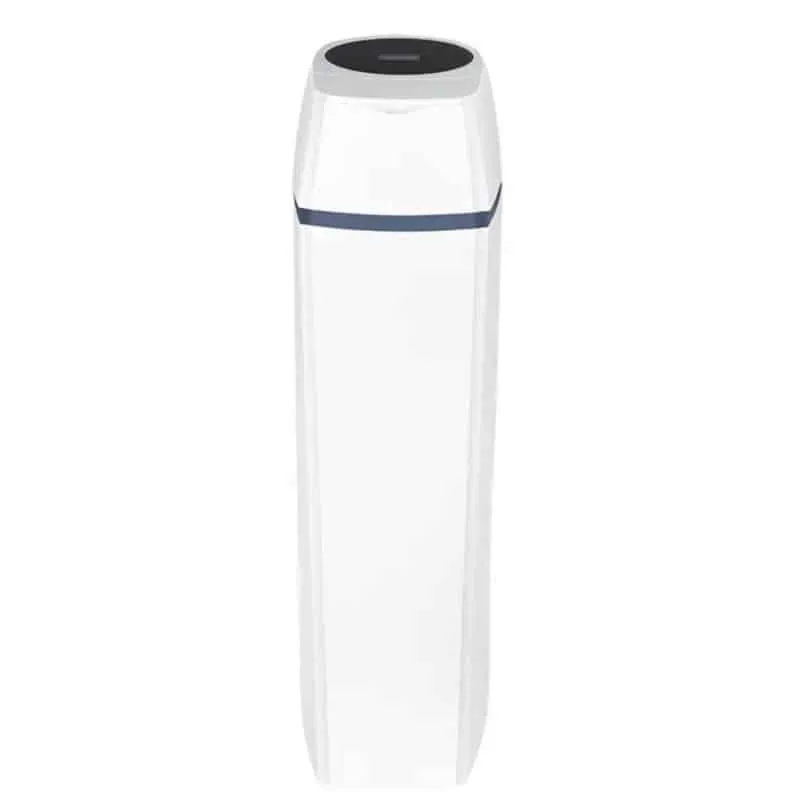

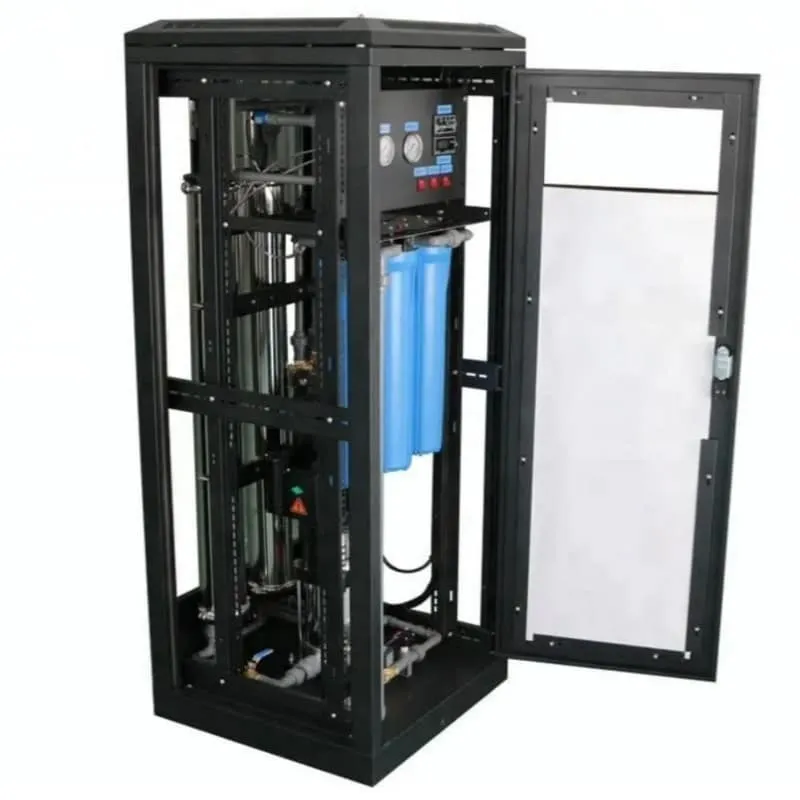
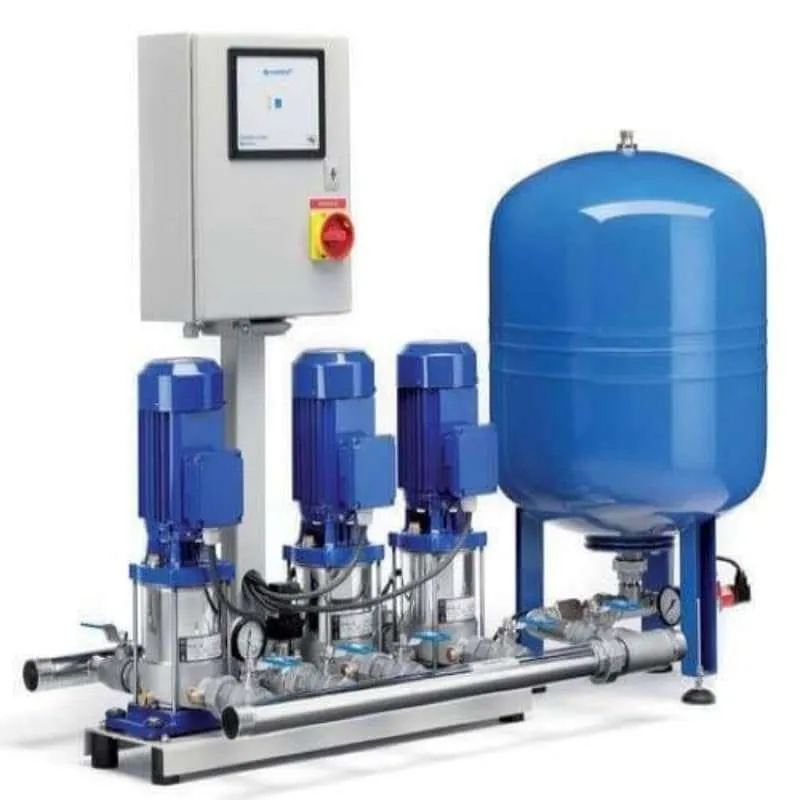
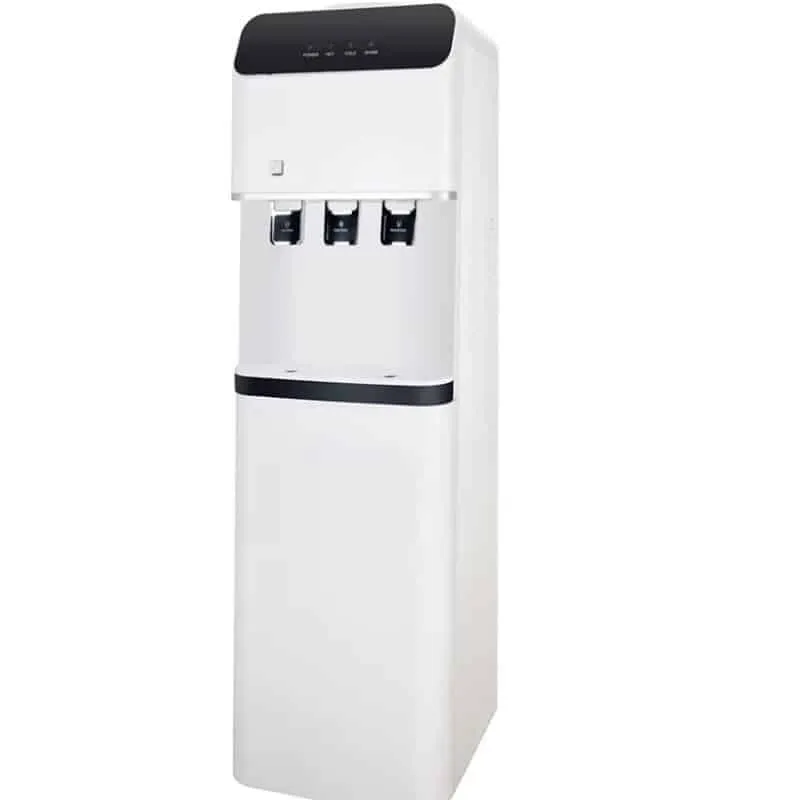




You can put in your own water filtration system. You do not need plumbing experience. This guide will show you each step. You will finish the water treatment installation safely. You will also do it well. Clean water is important for every home. Most Americans agree with this. In fact, 91% filter their drinking water. Many people get water treatment systems for different reasons. Some care about the environment. Others want better health. Some people want water they can trust. Get your tools ready. Follow this guide to make your home’s water better.
31% use filters for health reasons
80% think clean water is very important
Key Takeaways
You can put in a water treatment system by yourself. You do not need to be a plumber. Follow each step in the guide to set it up right.
Pick a good spot for your system. Make sure it is close to the main water supply. There should be enough room to work on it later.
Get all the tools you need before you start. Being ready saves time and keeps you from getting upset while working.
Change the filters often to keep water clean. Look at your system manual to know when to change them.
Test your water after you finish setting up the system. This makes sure your water is clean and safe. Use a home test kit for fast results.
Water Treatment Installation Basics
What Is Water Treatment Installation
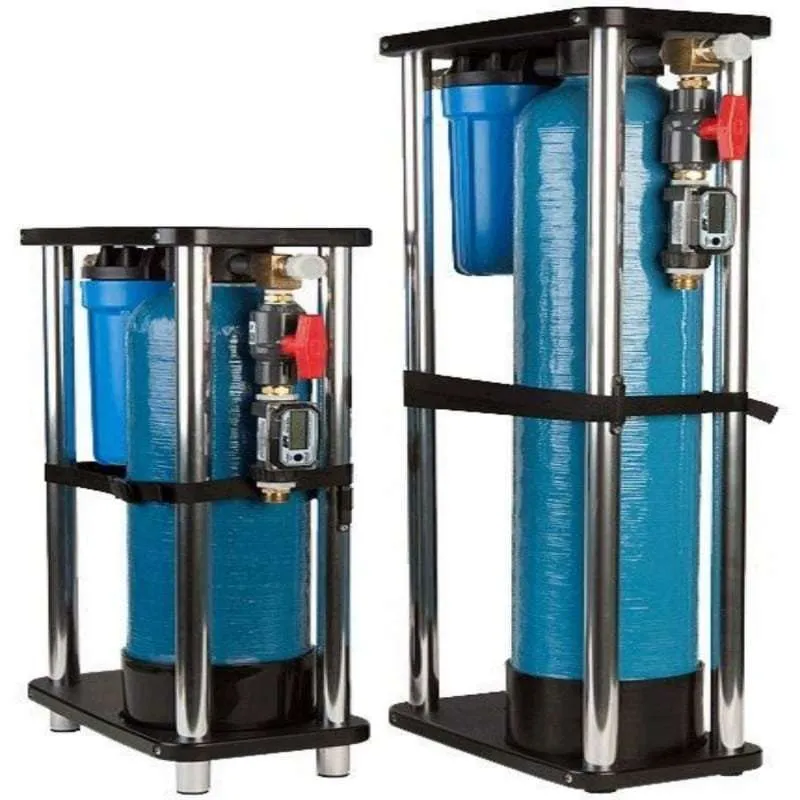
You can make your home’s water better by following a guide. Water treatment installation means you put in equipment that takes out bad things from your water. There are different systems you can use to clean water. Some systems have filters that trap dirt and chemicals. Other systems use special membranes to stop bacteria and metals. Many people pick diy water softener installation to make water feel nicer and keep pipes safe.
Here is a simple table to help you see the main types of water treatment systems:
Type of System | Description |
|---|---|
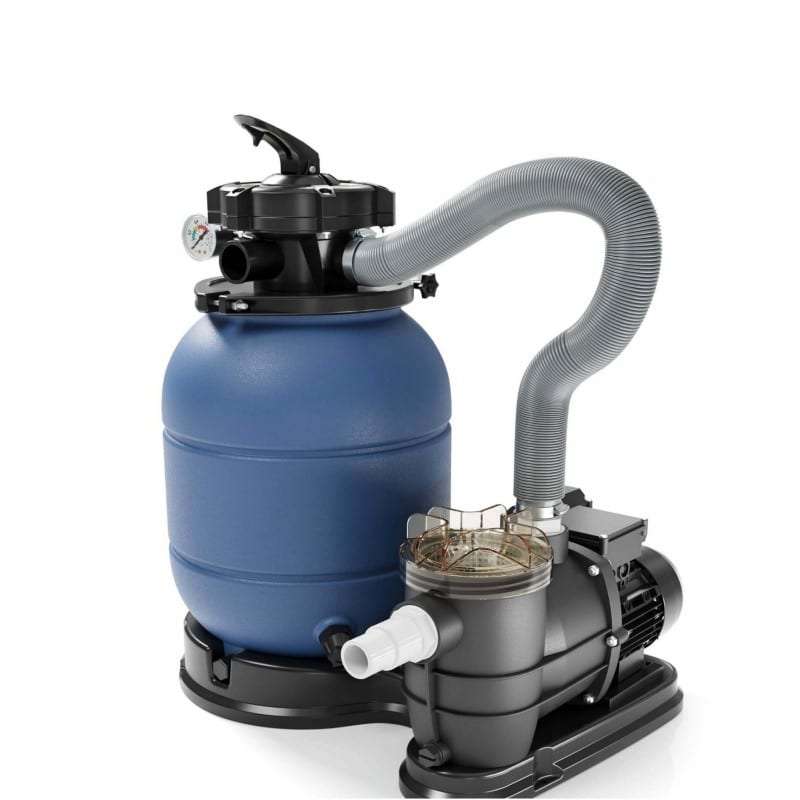
Media Filtration Systems | Take out sediments, chlorine, and organic stuff; good for basic contaminant removal. |
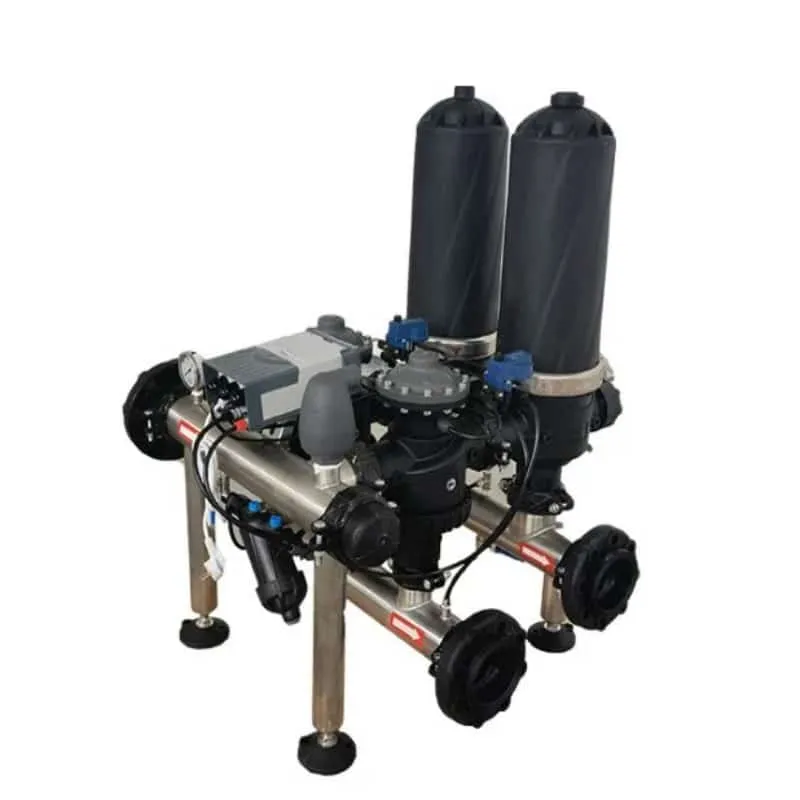
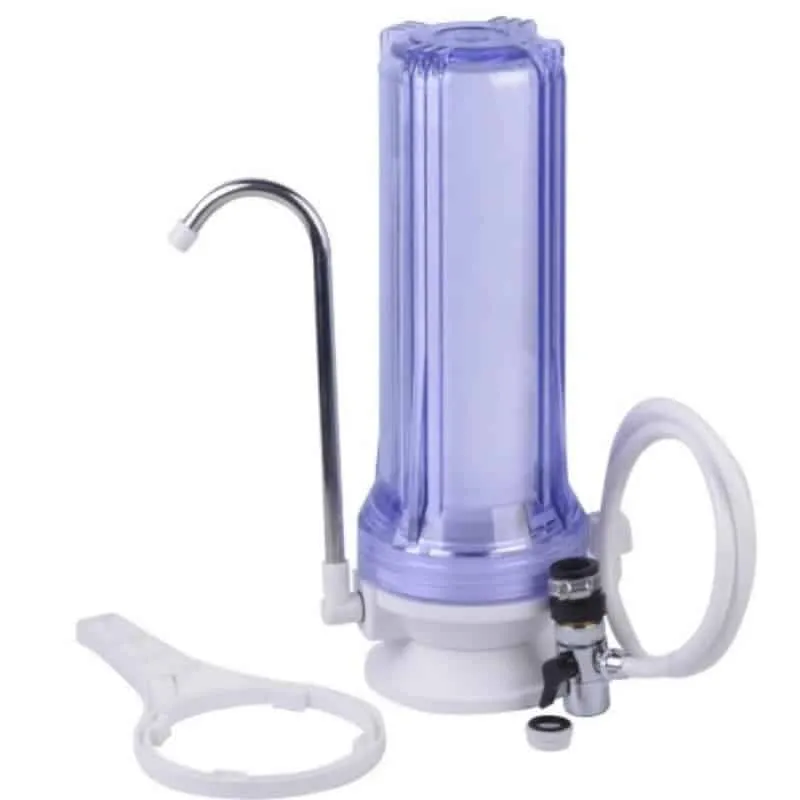
Cartridge Filtration Systems | Catch small particles and certain chemicals; used for careful cleaning in steps. |
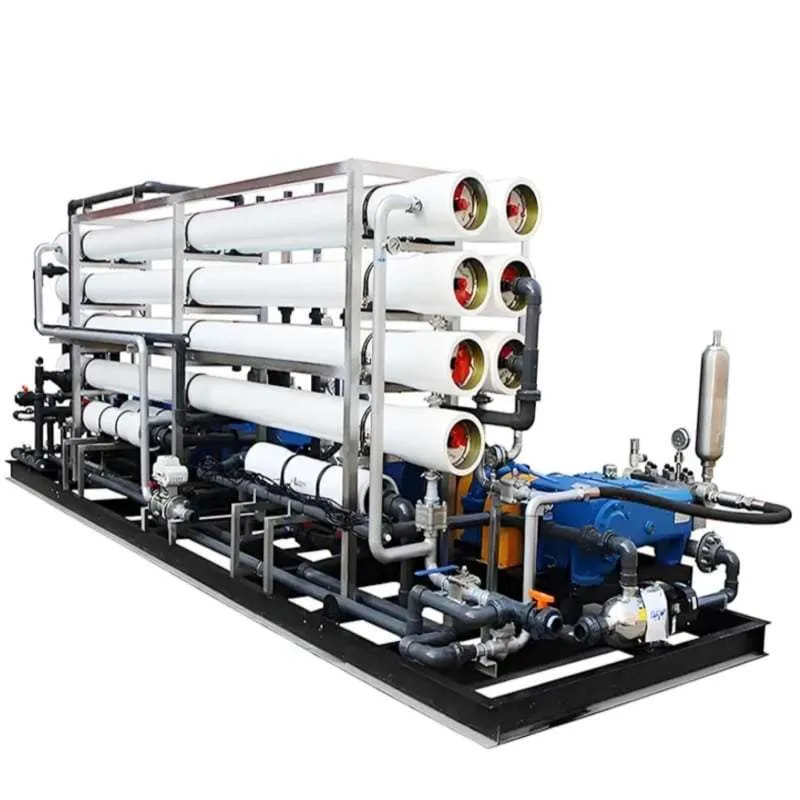
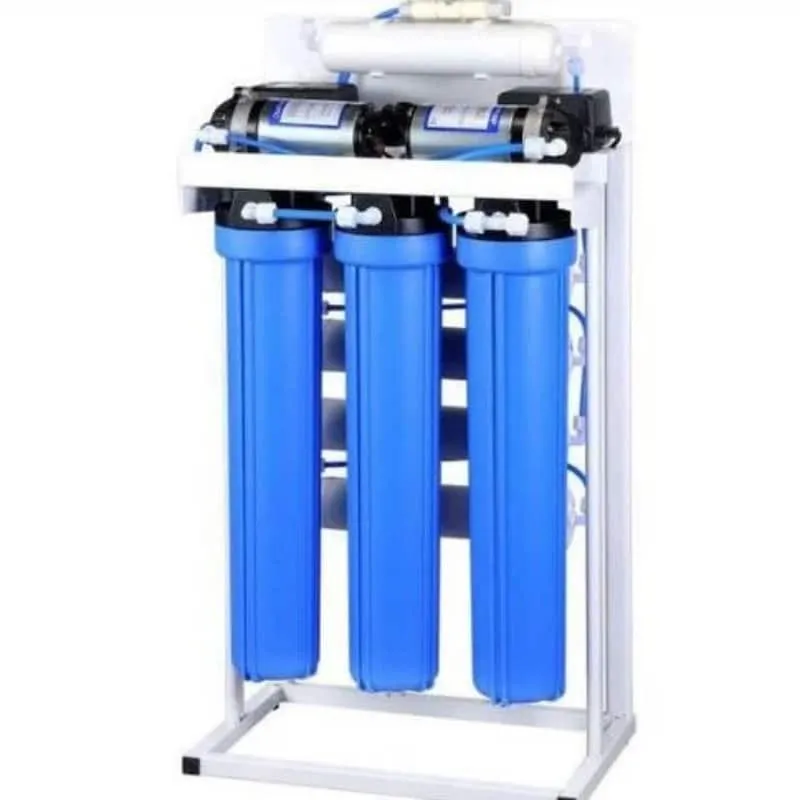
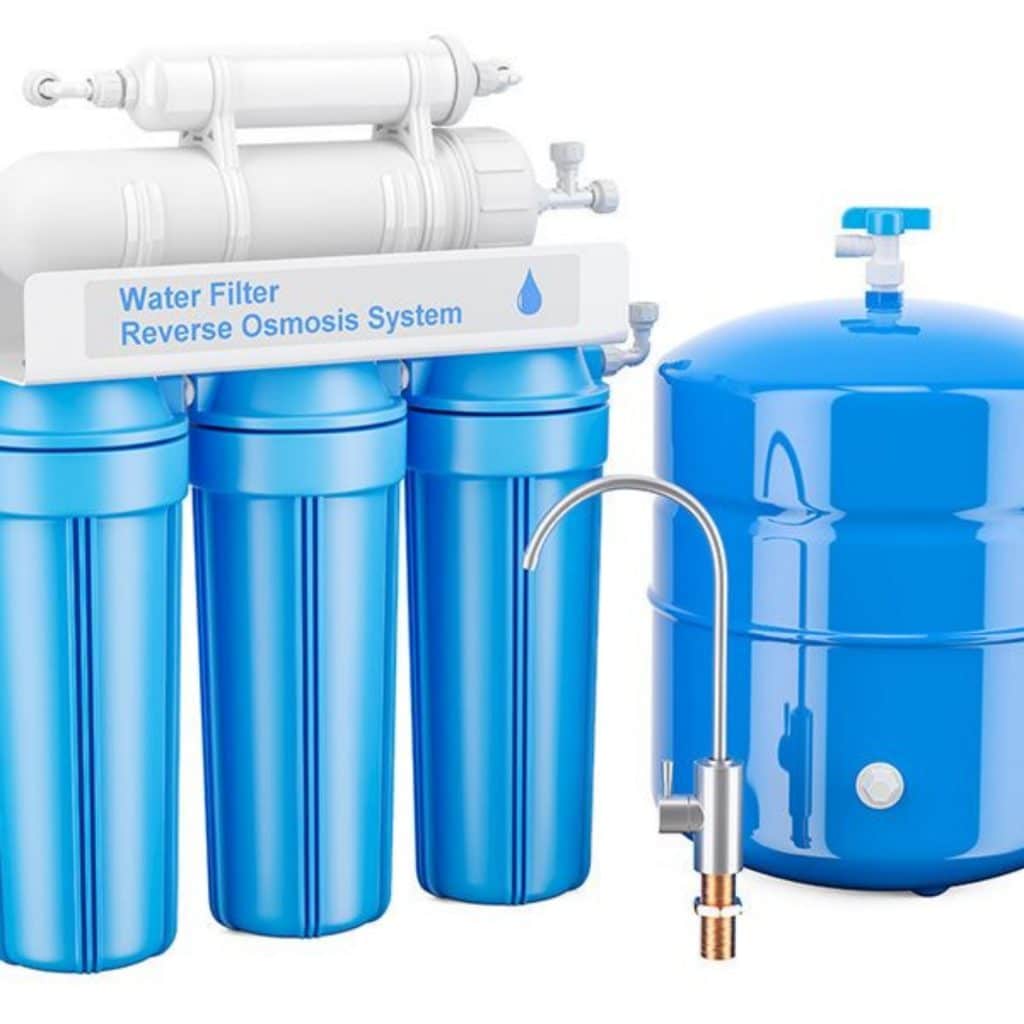
Reverse Osmosis Water Filter Systems | Remove solids, heavy metals, bacteria, and viruses; used when you need very pure water. |
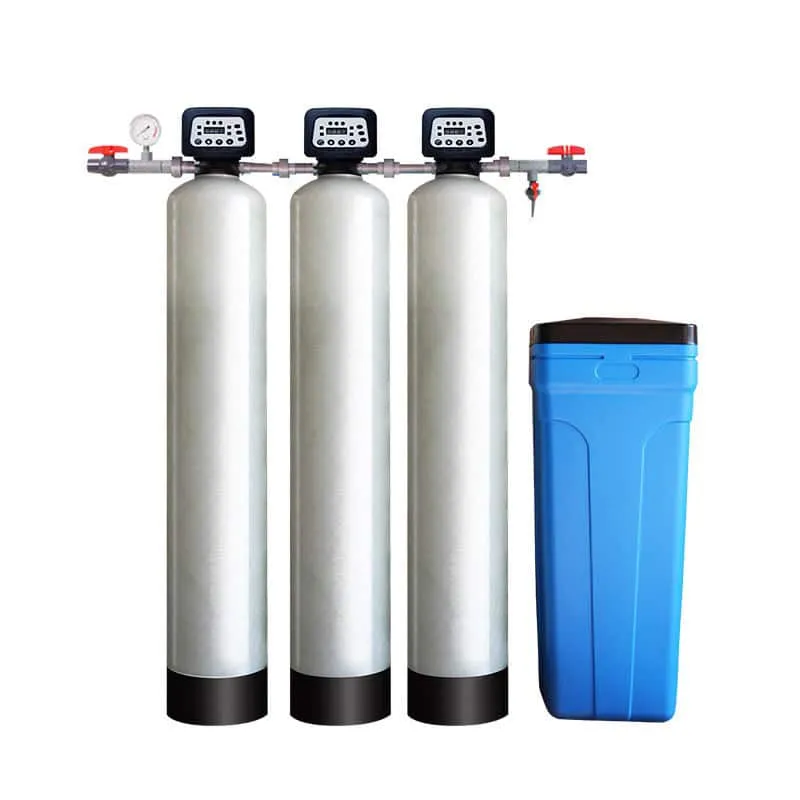
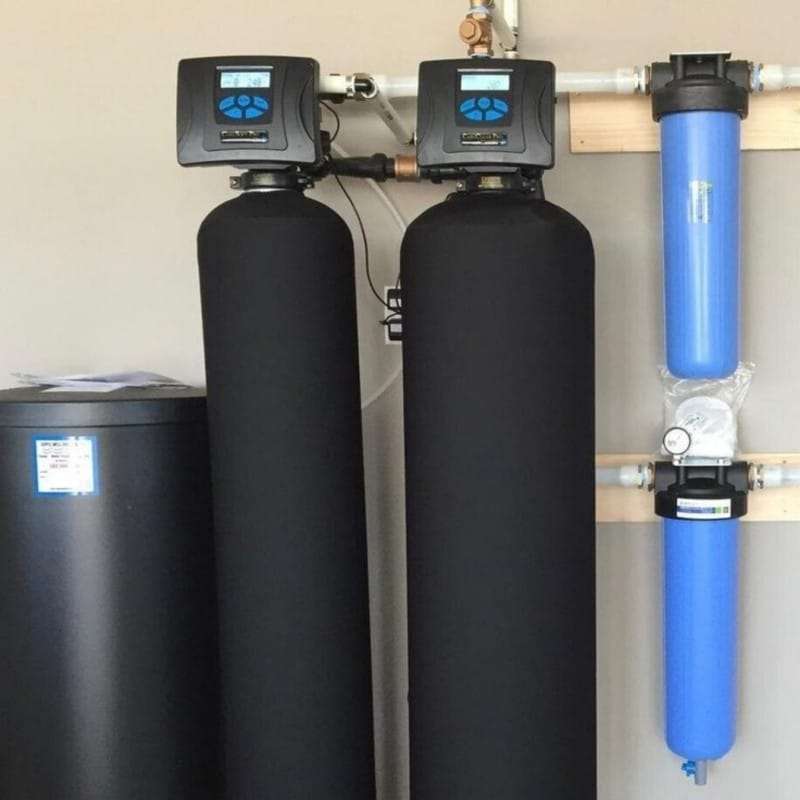
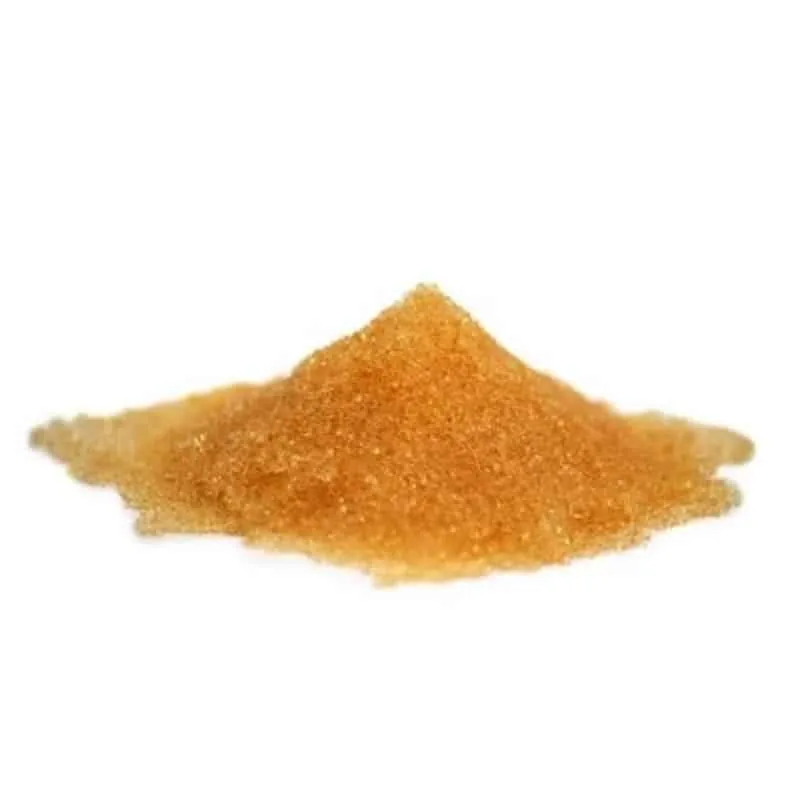
You can also get a water softening system that takes out minerals like calcium and magnesium. This system helps stop stuff from building up in your pipes and machines. Many homes use a whole house filtration system or a whole home filtration system to clean all the water coming into the house.
Why Water Treatment Matters
You want water that is safe for drinking, cooking, and cleaning. Water treatment installation helps you get rid of bacteria, chemicals, and other bad things. A whole house filtration system can make your water taste and smell better by taking out chlorine and other things. You might drink more water when it tastes fresh.
Here are some main benefits of using a water softening system or a diy water softener installation:
Takes out harmful things like heavy metals and germs, keeping you healthy.
Makes water taste and smell better, so you drink more.
Stops pipes and machines from getting damaged by minerals.
Saves money because you buy less bottled water and use less energy.
Helps the planet by making less plastic trash.
You can have clean water every day. Water treatment installation helps you feel safe and live healthier.
Preparation for Installation
Inspect Components and Unbox
Start by opening the box for your water treatment system. Lay out all the parts on a clean surface. Check each piece for cracks, dents, or missing items. You want to make sure everything is in good shape before you begin. If you see any damage, contact the manufacturer right away. This step helps you avoid problems during installation.
Choose Installation Location
Pick a spot near your main water supply. The area should be dry, flat, and easy to reach. You want enough space to move around and work. Place your diy water softener or other system before the water heater. This setup helps protect your pipes and appliances. Make sure the spot has a drain nearby if your system needs one.
Gather Tools and Materials
You need the right tools for a smooth installation. Here are some items you should have ready:
Test kit
Smart water monitor and automatic shutoff valve
Water sediment filter
diy water softener with brine tank
UV filter for bacteria
Tank-based reverse osmosis system
Optional RO feed to refrigerator
Pex crimping tool
Pex cutting tool
Copper pipe cutter
Teflon tape
If you use copper riser tubes, get a copper tubing cutter. Some systems need a self-piercing valve for certain pipes. Having all tools ready saves time and stress.
Safety Precautions
Stay safe while you work. Follow these tips:
Use a pressure reducing valve if your water pressure is high.
Connect your diy water softener or filter before the water heater.
Install a pre-filter to catch large particles.
Turn on the nearest faucet before you start.
Keep a bucket handy to catch water when you cut the main pipe.
Tip: Wear gloves and safety glasses to protect your hands and eyes.
You can now move on to installing your system with confidence.
How to Install a Water Treatment System

You can complete a water treatment installation in your home with the right tools and a clear step by step guide. Most homeowners finish this project in four to eight hours. The time depends on your skills and the complexity of your system. Many professionals finish in two to four hours. Take your time and follow these step-by-step installation instructions for the best results.
Secure Main Unit
Start by placing the main unit close to your main water line. Make sure you position it after the pressure reduction valve and before any splits in the pipe. This location helps your system treat all the water entering your home. Use a level to check that the unit sits straight. Mark the wall for mounting brackets if your system needs them.
Turn off the main water supply.
Cut a small section of the pipe where you want to install the unit.
Attach elbows, adaptors, and new pipe to connect the inlet and outlet lines.
Use strong brackets to secure the unit to the wall. This step prevents movement and leaks.
For non-backwashing systems, mount cartridge housings firmly and use unions for easy maintenance.
Tip: Add a bypass assembly with three shut-off valves. This setup lets you service the unit without shutting off water to your whole house.
Checkpoints:
The unit should not wobble or shift.
All connections must feel tight.
The bypass valves should move smoothly.
Connect Water Lines
Next, connect the water lines to your system. Measure and cut pipes carefully. Clean the ends for a snug fit. Follow the arrows on your unit to match the inlet and outlet sides. Use Teflon tape on threaded fittings to prevent leaks.
Attach the inlet pipe from your main supply to the system’s inlet port.
Connect the outlet pipe to the rest of your home’s plumbing.
If your system has a drain line, run it to a nearby laundry sink or floor drain.
Tighten all fittings by hand, then use a wrench for a final turn.
Note: Over-tightening can crack plastic fittings. Stop when you feel resistance.
Checkpoints:
No pipes should kink or twist.
All fittings should feel secure.
The drain line should slope downward with no loops.
Install Filters
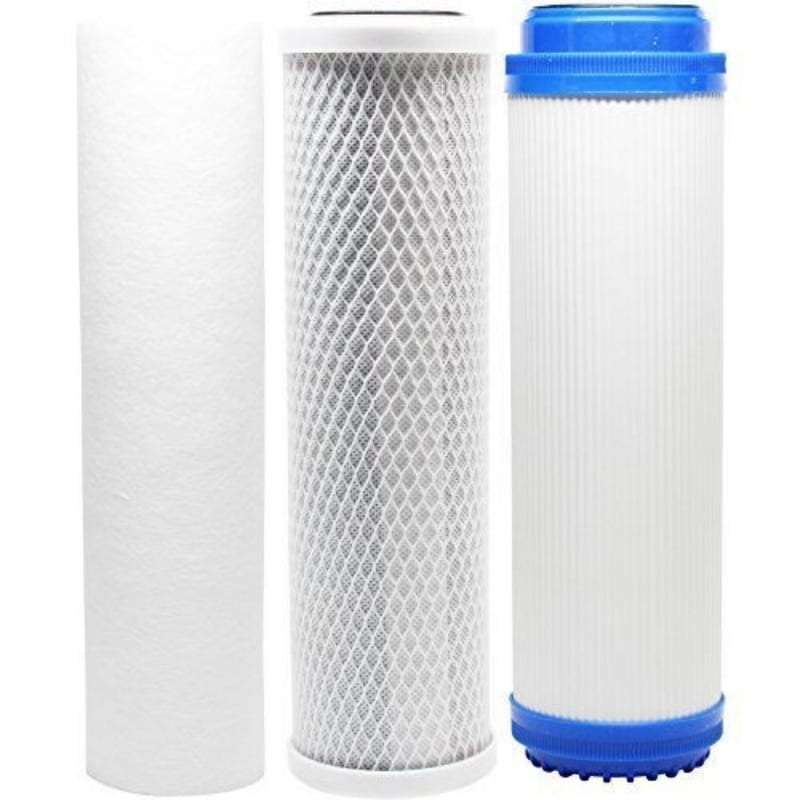
Now, install the filters that clean your water. Each system uses different filters, so check your manual for details. Most units use sediment and carbon filters. Some use reverse osmosis membranes.
Open the filter housing and insert the correct filter.
Make sure the filter sits straight and seals tightly.
Close the housing and hand-tighten. Do not use tools unless the manual says so.
If your system uses multiple filters, install them in the correct order.
Tip: Write the installation date on each filter. This habit helps you remember when to replace them.
Checkpoints:
The filter housing should not leak when closed.
Each filter should match the type and size listed in your guide.
You should feel resistance when the filter seats properly.
Power On and Test
You are almost done. Now, power on your system and test for leaks and performance.
Plug in the unit if it uses electricity for timers or control valves.
Slowly turn on the main water supply.
Open a faucet to let air escape from the pipes.
Check all connections for leaks. Tighten fittings if you see drips.
Flush the system by running at least 25 gallons of water to drain. This step removes any residue from the new filters.
Test your water with a home test kit. Check for taste, smell, and clarity.
Callout: Always test your water after installation. Many people forget this step, but it helps you catch problems early.
Checkpoints:
No leaks at any connection.
Water flows smoothly through all faucets.
Test results show clean, safe water.
Common Mistakes to Avoid
Do not skip sealing pipe threads. Leaks can cause damage.
Do not forget to flush the system before using the water.
Do not ignore water testing after installation.
Do not block the drain line or let it loop upward.
Do not rush. Take your time to follow each step by step guide.
You now know how to install a water treatment system. This guide helps you avoid common mistakes and ensures your installation works well. You can enjoy clean water every day with proper setup and care.
How to Install a Water Softener

Position the Softener
You want your water softener to work well for your whole house. Place the unit close to where the main water line enters your home. This spot treats all the water before it reaches your faucets and appliances. Make sure the ground is level so the system stays stable. You also need a drain nearby for the softener’s cleaning cycles. Check for a power outlet within reach. The inlet pipe should connect before the water heater. This setup prevents scale from building up in your pipes and keeps your hot water system safe.
Tip: Use a water softener installation checklist or a quick checklist for installing to make sure you do not miss any steps.
Connect Inlet and Outlet Pipes
Start by shutting off your main water supply. Attach the bypass valve to the softener. This valve lets you turn off the softener for maintenance without stopping water to your house. Measure and cut the pipes leading to the softener. Connect the supply-side pipe to the inlet port and the house-side pipe to the outlet port. Use flexible supply tubes or push-to-connect fittings for easy installation. These fittings help you avoid soldering and make future repairs simple. Secure the drain tubing to the softener and run it to the drain. Double-check that all connections are tight and leak-free.
Note: If you want to know how to install a salt-free water conditioner, the steps are similar, but you will not need a brine tank or salt.
Add Salt and Test System
Open the brine tank and fill it with salt. The salt should reach at least one quarter of the way up the tank. Do not fill it more than 4 to 6 inches from the top. Make sure the salt sits a few inches above the water level. Plug in the softener and turn on the water supply. Let the system run a full cycle. Test your water with a hardness test kit. You should notice softer water within 90 minutes. Your hair and skin will feel smoother after a few showers. Watch the control panel to make sure the system works correctly. Keep an eye on the system for the first few days to catch any problems early.
Callout: Mark the date you add salt. This habit helps you remember when to refill the tank.
You have now completed the main steps to install a water softener. Enjoy the benefits of softer water and protect your home’s plumbing.
How to Install a Reverse Osmosis System
Mount RO Unit
You need to start by choosing the right spot for your reverse osmosis system. Most people install it under the kitchen sink. Make sure the area is clean and easy to reach. You want enough space for the unit and the storage tank. Clear out any items that might get in the way. Check your water quality with a test kit before you begin. This step helps you pick the best reverse osmosis system for your home. Think about your water use and the space you have. If you feel unsure, you can ask a plumber for advice.
Tip: Always read the manual for your reverse osmosis system before you start.
Connect Feed Water Line
You must connect the feed water line to the cold water supply. Turn off the cold water valve under your sink. Use an adjustable wrench to loosen and remove the riser tube from the faucet. Attach the feed line adapter to the cold water shut-off valve. Reconnect the riser tube to the top of the adapter. Some systems need you to drill a small hole for a saddle valve. If so, make sure the piercing lance does not stick out past the rubber gasket. Tighten the nut around the valve stem with a wrench. Connect the tubing to the feed water valve. Turn on the cold water supply and check for leaks.
Install the feed line adapter valve.
Loosen and remove the riser that feeds the cold water side of the faucet.
Connect the swivel end of the feed line adapter to the threads of the cold water shut-off valve.
Reconnect the riser tube to the top of the adapter.
Install RO Filters
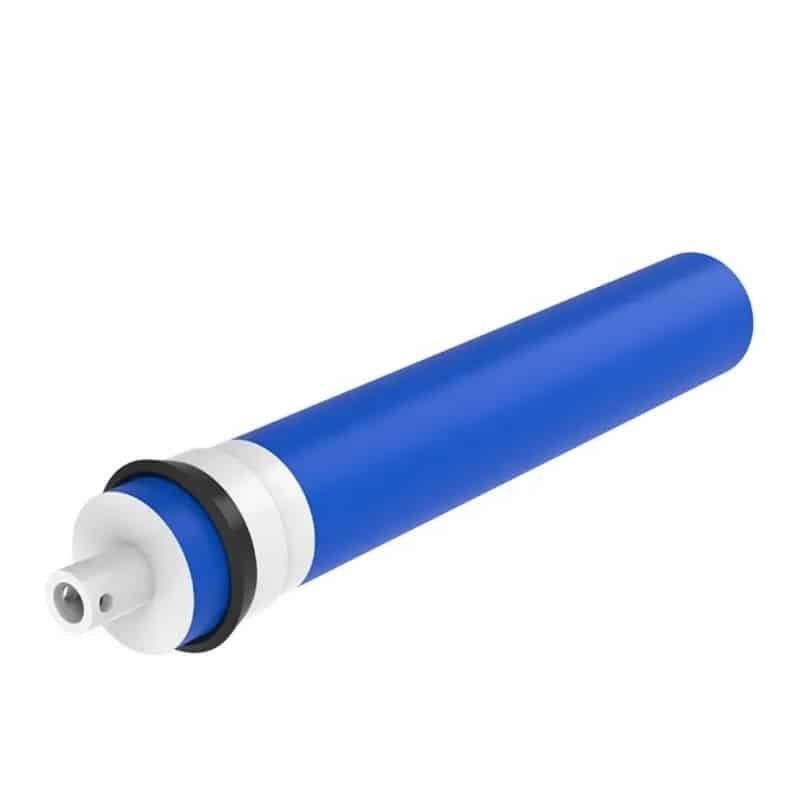
You now need to install the filters for your reverse osmosis system. Open the filter housings and insert the filters in the correct order. Most systems use a sediment filter, a carbon filter, and a reverse osmosis membrane. Make sure each filter sits straight and seals well. Close the housings by hand. Do not use tools unless the manual says so. Connect the system to the cold water supply with strong connectors. Set up the dedicated faucet for filtered water. Run the drain line to the sink drain. Flush the system to remove any factory dust or residue. Check for leaks and make sure water flows smoothly.
Callout: Write down the date you install the filters. This habit helps you remember when to change them.
Test Water Quality
You should always test your water after installing a reverse osmosis system. Use a water testing kit to check for lead, bacteria, and other contaminants. You can also use a taste and smell test to spot problems. For the most accurate results, send a sample to a lab. Test your water every three months to keep it safe. Clean water means better health for you and your family.
If you want to know how to install an undersink reverse osmosis system, these steps will guide you. You can enjoy pure water every day with the right setup and care.
How to Install a Whole House RO System
Select Installation Site
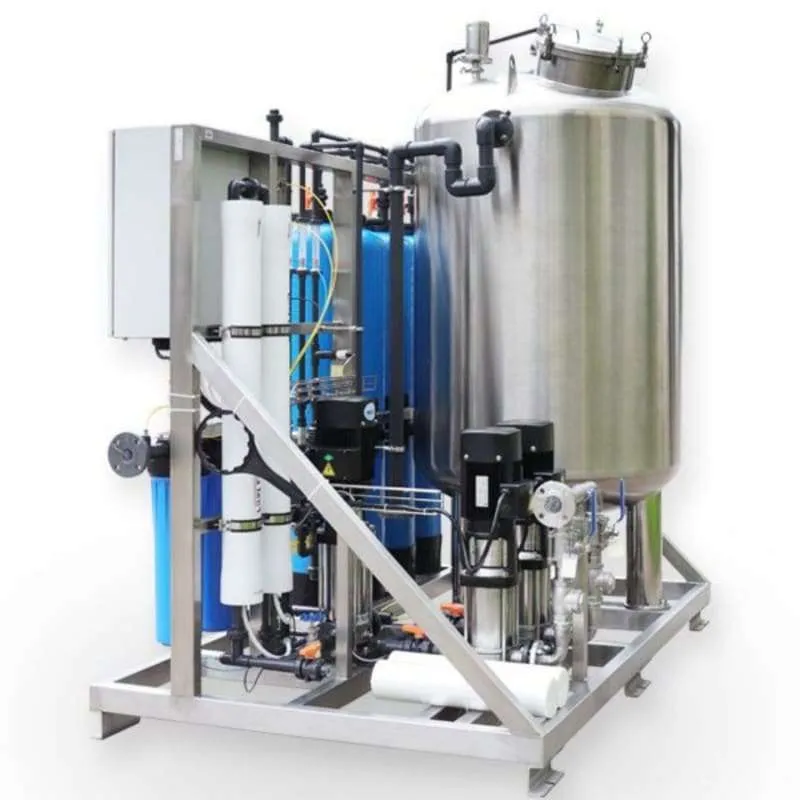
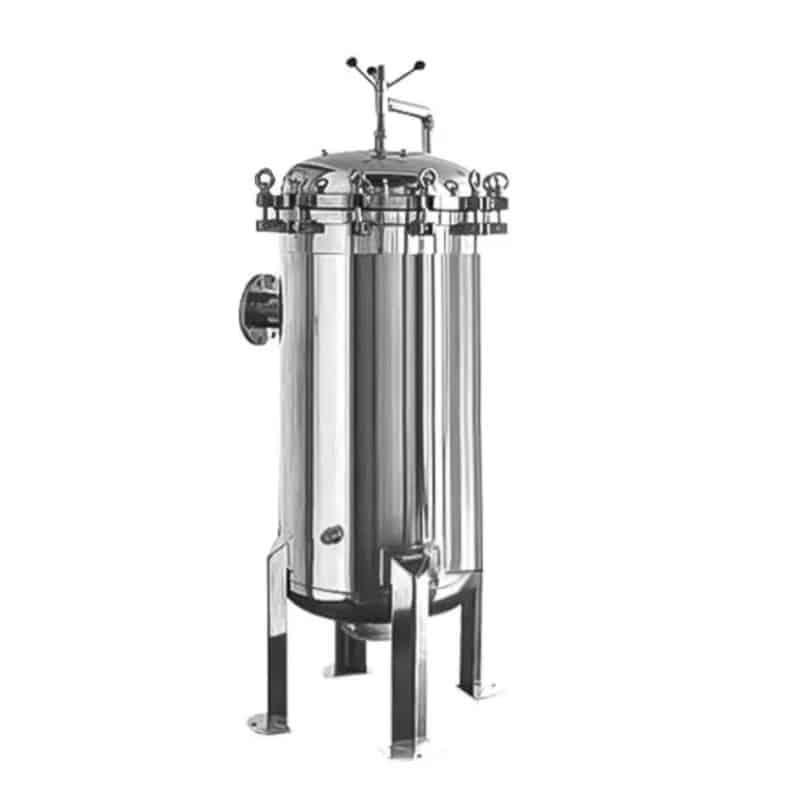
You need to pick the right spot for your whole house reverse osmosis system. The system has large tanks and other parts that take up a lot of space. You should look for a place that is dry, flat, and easy to reach. Think about noise from the system. Some units make sounds during operation. You want a spot where noise will not bother your family. Drainage is important. The system needs a drain for wastewater and possible leaks.
Factor | Description |
|---|---|
Space Requirements | The system components, especially atmospheric tanks, require significant space, typically holding over 500 gallons of water. |
Noise Considerations | The noise produced by the system can influence the choice of installation location. |
Drainage Needs | Adequate drainage is necessary to handle wastewater and potential leaks during maintenance. |
Connect Main Water Supply
You must connect the main water supply to the RO system. Turn off the main water valve. Open faucets to drain water from the pipes. Use white feed water tubing to connect the main line to the inlet connector on the prefilter assembly. Follow the instructions for other tubing connections. Install a three-valve bypass. This bypass lets you keep water flowing when you need to service the system. Turn on the feed water supply. Plug the RO unit into a power outlet.
Tip: Always check for leaks after connecting the water lines.
Install RO Membrane
You need to install the RO membrane inside the unit. Place the RO unit indoors, on a wall or shelf. Make sure the area is clean and dry. Follow these steps:
Turn off the main water supply.
Open faucets to drain water from the pipes.
Connect the feed water tubing to the inlet connector.
Install the three-valve bypass.
Turn on the feed water supply.
Plug in the RO unit.
The membrane removes impurities from your water. You should check the manual for the correct placement.
Final System Check
You must check the system after installation. Replace pre-filters every 6 to 12 months. Change post-filters every 12 months. Replace the RO membrane every 2 to 3 years. Sanitize the system once a year. Check the storage tank for damage and air pressure. Look for leaks at filter housings and connection points. Test water quality for TDS, pH, and chlorine levels. Monitor water pressure. Watch for any drop in water flow.
Callout: Regular maintenance keeps your system working well and your water safe.
You now know how to install a whole house ro system. You can enjoy clean water throughout your home with proper setup and care.
Post-Installation Maintenance
Replace Filters Regularly
You must change filters on time to keep your water treatment system working well. Every filter type needs to be replaced at different times. If you do not change filters, your water can get worse and your system might clog. Use this table to remember when to change each filter:
Filter Type | Replacement Interval |
|---|---|
Primary filter cartridges | Every 6–12 months |
Pre-filters | Every 3–4 months |
Carbon filters | Every 6 months |
Sediment filters | Every 3–6 months |
Standard cartridge filters | Every 3–6 months |
Secondary filters | Annual or biannual |
Tip: Write the date on each filter when you put it in. This helps you know when to change them.
Monitor Water Quality
You should check your water often to make sure your system works right. You can use sensors that show water data right away. Some people use test kits to check for chlorine, lead, or bacteria. You can send a water sample to a lab for a full report. If you want to help, join a community water monitoring program. These programs teach you more about your water and help keep your family safe.
Try test kits for fast results.
Send samples to a lab for a full check.
Join community programs to learn more.
Troubleshoot Common Issues
You might have problems after you install your water treatment system. Most problems are easy to fix if you know what to do. Here are some common problems and ways to fix them:
Fouling: Dirt can clog your system. Check and clean pre-filters often.
Scaling: Minerals can build up inside pipes. Regular care stops this problem.
Pressure Drops: Blockages can slow water flow. Watch flow rates and clean filters as needed.
Incorrect Salt Levels: For softeners, check salt in the brine tank.
Salt Bridges: Break up any hard crusts in the brine tank.
Poor Water Flow: Look for clogs and change filters if needed.
Note: Regular checks and quick fixes keep your water clean and your system working well.
You can install a water treatment system by following each step in this guide. You learned how to prepare, set up, and test your system. Clean water helps your family stay healthy every day.
Remember to change filters and check your water often.
Do not hesitate to call a professional if you feel unsure.
Tip: Regular care keeps your water safe and your system running well.
FAQ
How often should you replace water filters?
You should change most filters every 3 to 12 months. Check your system manual for exact timing. Write the date on each filter when you install it.
Can you install a water treatment system without plumbing experience?
Yes, you can install most systems yourself. Follow step-by-step instructions. Use basic tools. Read the manual before starting.
What tools do you need for installation?
Pex crimping tool
Pipe cutter
Teflon tape
Adjustable wrench
Bucket
Tip: Gather all tools before you begin. This step saves time.
How do you know if your system works correctly?
Checkpoint | What to Look For |
|---|---|
No leaks | Dry connections |
Water flow | Steady from faucets |
Water quality | Clear, fresh taste |
Test your water after installation with a home kit.








 English
 Chinese
 German
 Russian
 Japanese
 French
 Dutch
 Italian