










You can set up a rainwater harvesting system even if you have never done it before. The steps are easy and fun. Many people find this system gives them over 65% of the water they need for watering plants and flushing toilets. You save money, have water when it is dry, and help the environment near you. If you follow the right steps, your home becomes stronger and better for the planet. You do not need to be an expert.
Key Takeaways
Rainwater harvesting systems are simple to set up. They can give you more than 65% of the water you need for gardens and toilets.
The main parts are a catchment surface, gutters, downspouts, a storage tank, and filters. These parts help make sure your water is clean.
Look at your roof and yard to pick the best materials. Make sure your system drains water the right way.
Pick a tank size that matches how much water your home uses. Think about how much it rains in your area so you do not run out of water.
Check local rules before you start. This helps you follow the law and keeps your rainwater system safe.
Clean filters and look for leaks often. This helps your system work well and last longer.
Using rainwater saves money and helps you use less city water. It also helps the environment by saving natural water sources.
You can use a first-flush diverter to make your water cleaner. It takes away the first dirty rainwater before it goes into your tank.
Rainwater Harvesting System Basics

What Is a Rainwater Harvesting System
You may ask what a rainwater harvesting system is. It is a way to collect and keep rainwater from your roof. This water can be used for your garden, cleaning, or flushing toilets. Many people use rainwater harvesting to save money and help nature. You do not need fancy tools or special skills. You only need to know the main parts of a home rainwater harvesting system.
Here are the main parts you will see in most systems:
Rain catchment surface (usually your roof)
Gutters and downspouts to move water
Downspout screen leaf eater to keep out leaves
First flush diverter to remove dirty water
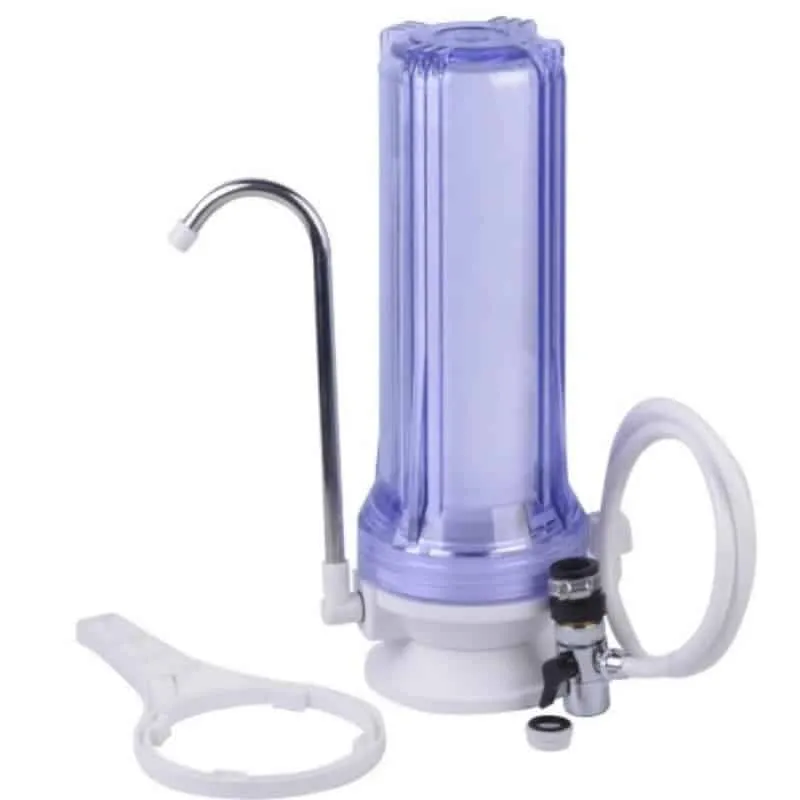
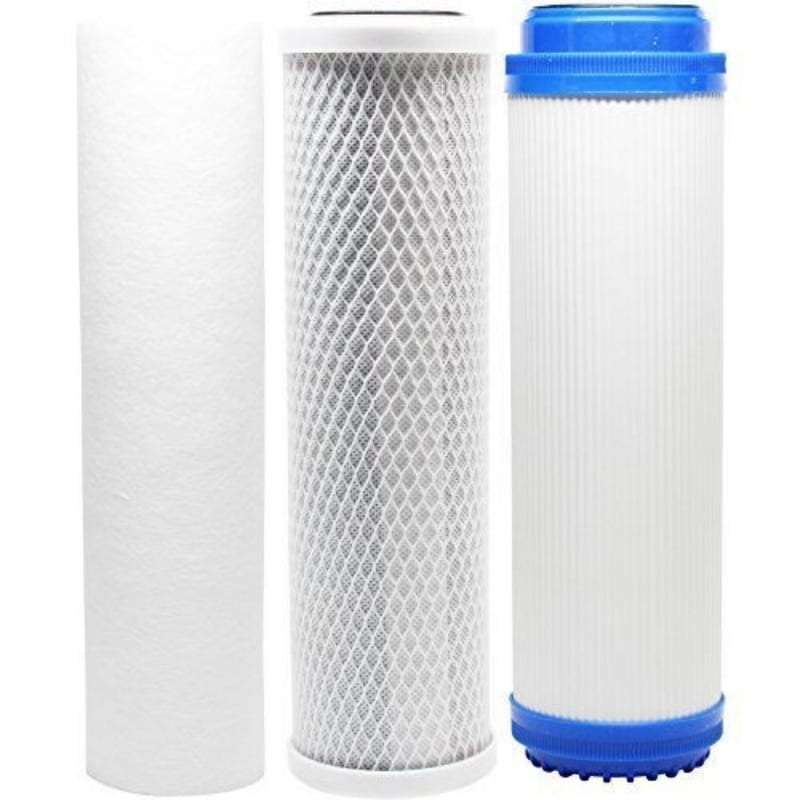
Tank screen for extra filtering
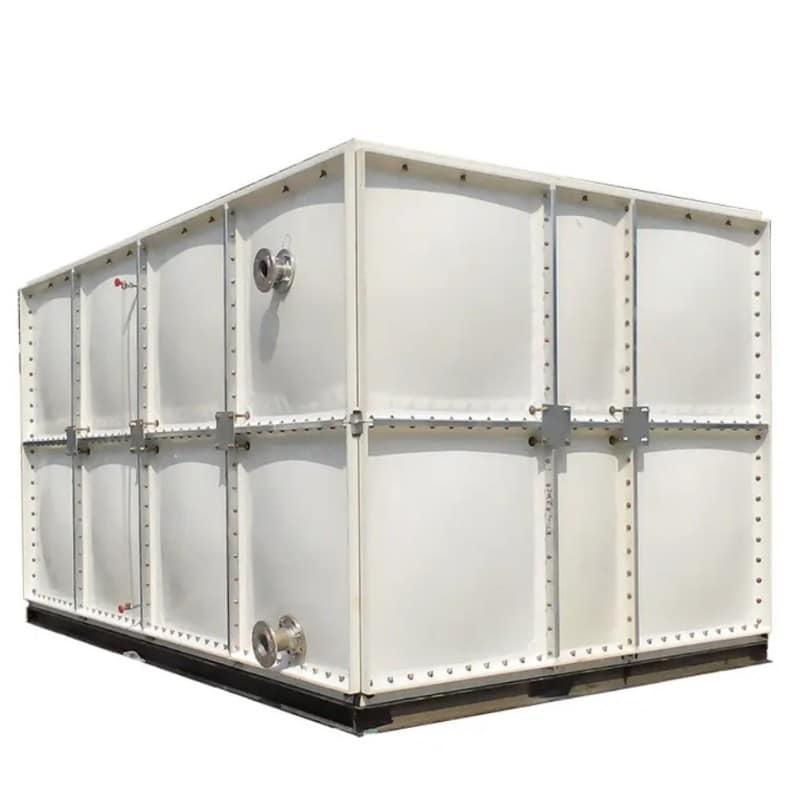
Collection container or storage tank
Overflow to handle extra water
Bulkhead fitting for safe connections
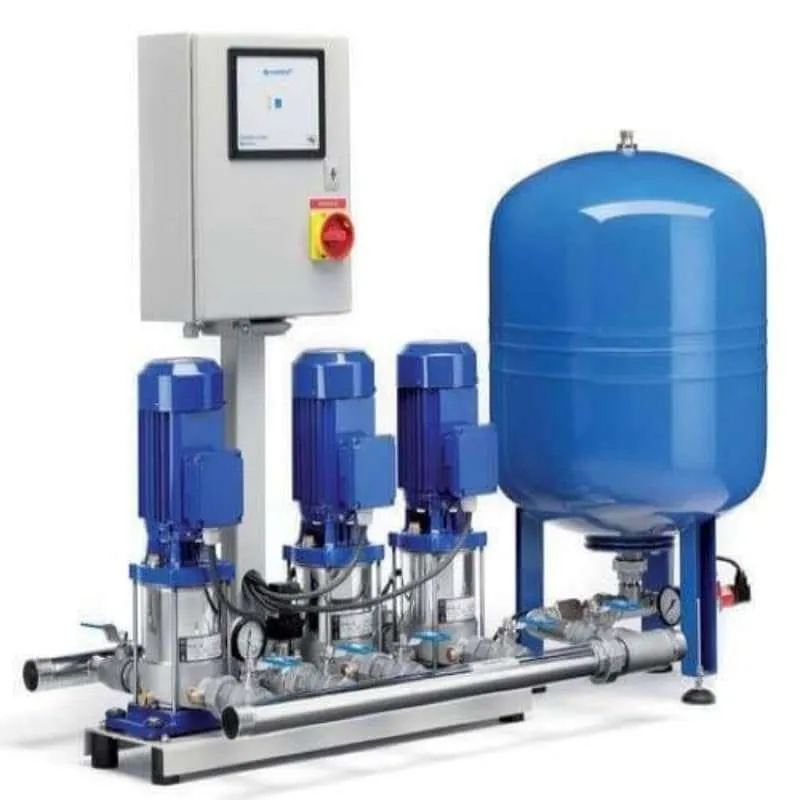
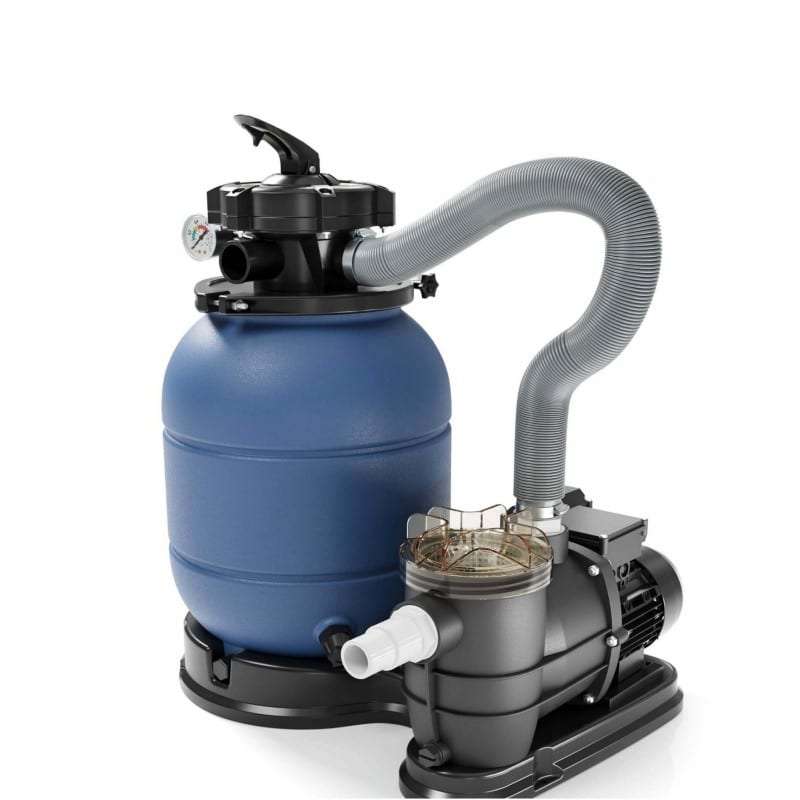
Water pump for moving water
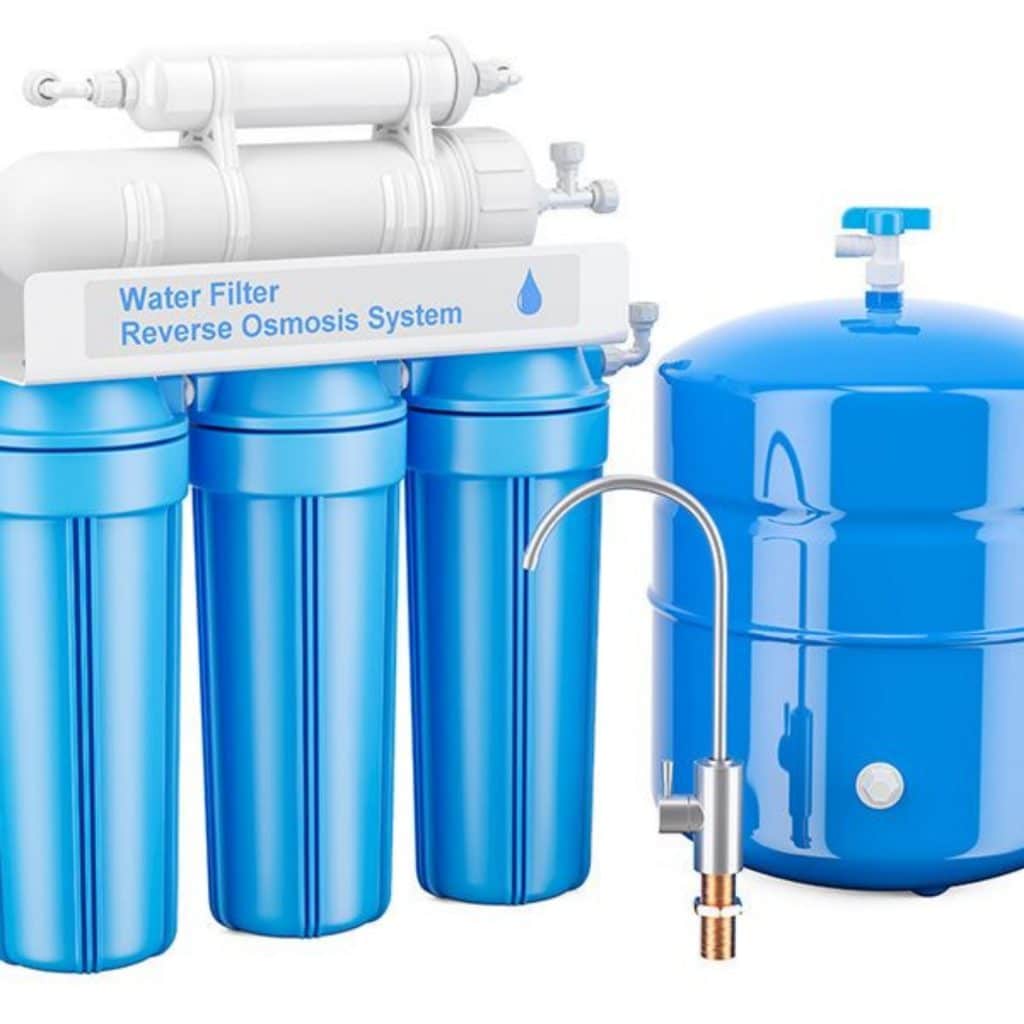
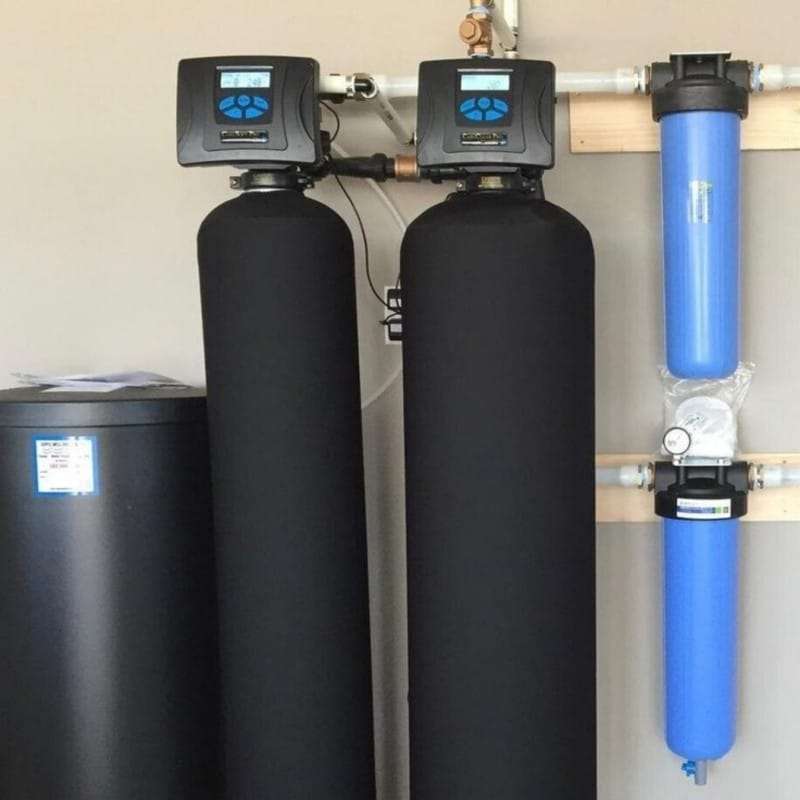
Water treatment system for special uses
How It Works
Rainwater harvesting is simple to understand. You collect rainwater from your roof and send it through gutters. The water goes into a storage tank. You can filter and use this water for many things at home.
Let’s look at the steps one by one:
1. Catchment Area: Rain falls on your roof and starts the process. 2. Conveyance Systems: Gutters and downspouts move water to your tank. 3. Storage Vessels: Tanks or barrels keep the rainwater until you need it. 4. Treatment and Distribution: Filters clean the water. Pumps help you use it for your garden or house.
You can collect rainwater to use again and make your home more eco-friendly. You do not have to use only city water. Rainwater harvesting gives you more choices and control.
Key Benefits for Homeowners
Rainwater harvesting has many good points for your home. You get extra water when there is little rain. You can handle changes in weather and climate. You help protect rivers and lakes by using less water from them.
Here is a quick look at the top benefits:
Benefit | Description |
|---|---|
Reliable during droughts | Gives you backup water when other sources dry up. |
Helps adapt to climate change | Helps you when rain is hard to predict. |
Protects the environment | Lessens the use of rivers, lakes, and other natural sources. |
You can see how rainwater harvesting makes your home stronger and greener. You save money, help the earth, and have more freedom with your water.
Residential Rainwater Harvesting Planning
Assessing Your Roof and Site
You want your rainwater harvesting system to start with a strong foundation. First, check your roof. Metal roofs work best because they don’t absorb water or release toxins. If you have shingles, make sure they don’t contain chemicals that could wash into your tank. Clean your roof before you begin. Remove leaves, dirt, and anything that could contaminate your water.
Take a look at your gutters and downspouts. You need gutters made from aluminum or galvanized steel. These materials last a long time and resist rust. Standard gutters measure 5 or 6 inches, but if your roof is large, you may need wider gutters. Downspouts should be at least 3 inches in diameter. This size helps prevent clogs and keeps water flowing smoothly. Don’t forget about brackets, straps, and sealants. Quality hardware keeps your system leak-free.
Here’s a quick checklist for your roof and site:
Roof material is inert and non-porous (metal is ideal)
Roof is clean and free from toxins
Gutters are durable and sized for your roof
Downspouts are wide enough to handle heavy rain
Hardware is sturdy and reliable
Sizing Your System
You want your rainwater harvesting system to match your needs. Start by looking at your local rainfall. If your area gets steady rain, you can use a smaller tank. If rain comes in bursts, you’ll need a bigger tank to store water for dry times. Think about how much water your household uses. For a small family, a tank between 2,500 and 3,000 gallons works well. If you have three to five people, aim for a 5,500-gallon tank. Larger families may need tanks up to 11,000 gallons.
To estimate your tank size, multiply your roof’s square footage by 0.6 and then by the highest monthly rainfall. This formula helps you plan for the wettest month and ensures you don’t run out of water. You can adjust your tank size as your needs change.
Tip: Write down your water needs for gardening, cleaning, and other uses. This helps you choose the right tank size and avoid waste.
Local Rules and Safety
Before you install your rainwater harvesting system, check your local laws. Some counties have rules about how you collect and use rainwater. You may need permits or inspections. Make sure your system follows safety standards. These rules protect your health and keep your water safe.
Ask your local government about:
System design requirements
Installation guidelines
Water usage limits
You stay safe and avoid problems when you follow local regulations. Planning ahead makes your project easier and keeps your water clean.
Rainwater Harvesting System Components

Collection Surface
You begin with the collection surface for your rainwater system. Most people use their roof, but flat areas work too. The material you pick is important. Some materials help block dirt and let water drain. You want a surface that keeps water safe and clean.
Here’s a simple table with common materials and what they do:
Material | Purpose |
|---|---|
Gravel (3/8″ to 1″) | Main drainage and catches debris |
Sand | Filters out small dirt and other things |
Crushed Stone | Gives tanks a strong base and support |
If you use gravel or sand, you get extra filtering before water goes in the tank. Crushed stone is good under tanks to make them steady. This helps keep your water cleaner and your system lasts longer.
Gutters and Downspouts
Gutters and downspouts move rainwater from your roof to your tank. Put gutters along the edge of your roof. Make sure they tilt at least a little so water moves. Downspouts take water away from your house. They should end at least 5 feet from your home or connect to a catchment system 10 feet away.
Here are some tips for gutters and downspouts:
Put downspouts every 20 to 50 feet on the gutter. This helps with heavy rain.
Use strong ABS or Schedule 40 PVC pipe for pipes. Tilt pipes away from your house at least 5/8 inch per foot.
In cold places, you might not use gutters. Try a ground-level drainage system instead.
These steps help your rainwater system work well. Water goes where you want it, and you stop leaks or floods.
First-Flush Diverter
A first-flush diverter is a key part of your system. It makes water better by removing the first rainwater, which has dust and leaves. You want cleaner water in your tank, so this tool is helpful.
Here is what a first-flush diverter does:
Takes in rainwater that may have dirt or leaves
Sends dirty rainwater away before it gets to the tank
Helps you collect and keep cleaner water
Makes your harvested rainwater better
Lowers how often you need to clean your system
Cuts down on dirt, sand, and other stuff in the water
Helps your water pump last longer
Makes appliances using rainwater last longer
Stops germs and tannin from building up
You get cleaner water and less work with a first-flush diverter. Clean water helps your tank, pump, and appliances last longer. You spend less time fixing or cleaning your system.
Tip: Check your diverter after big storms. You want it to work right every time it rains.
Storage Tank Selection
Choosing the right tank is a big step in your rainwater harvesting journey. You want a tank that fits your space, your needs, and your budget. You also want it to look good in your yard. Let’s break down what you should think about before you buy.
Here are some important things to consider when picking a tank:
Location: Look at your yard or property. Make sure you have enough space for the tank. Check if the ground is flat and strong enough to hold the weight. Some people put tanks above ground, while others hide them underground.
Aesthetics: Think about how the tank will look next to your house. Some tanks come in colors or shapes that blend in with gardens or fences. You can even find slim tanks for small spaces.
Cost: Set a budget before you shop. Tanks come in many sizes and materials. Plastic tanks usually cost less than metal or concrete ones.
Capacity: Figure out how much water you want to store. If you only want to water plants, a small tank might work. If you want to use rainwater for toilets or laundry, you’ll need a bigger tank.
Filtration: Some tanks have built-in filters. Others need extra filters added. Clean water keeps your system running well.
Application: Decide how you will use the water. Some tanks work better for gardens, while others are made for home use.
Above-ground or In-ground: Above-ground tanks are easy to install and check. In-ground tanks save space and stay cooler in hot weather.
Climate: Think about your local weather. If you live where it freezes, pick a tank that can handle cold. In hot places, choose a tank that blocks sunlight to stop algae.
You can find many types of storage tanks. Some are tall and slim, while others are short and wide. Plastic tanks are light and easy to move. Metal tanks last a long time. Concrete tanks are strong and good for underground use.
Tip: Always check the tank’s warranty and ask about delivery. Big tanks can be hard to move without help.
Take your time when choosing a tank. The right choice will give you clean water and peace of mind for years.
Install a Rainwater Harvesting System: Step-by-Step

Site Preparation and Foundation
Clearing and Leveling
You want your rainwater harvesting system to start with a solid base. Begin by clearing the area where you plan to place your tank. Remove rocks, roots, and any debris. Make sure the ground is flat. If you see bumps or dips, use a shovel to level the surface. A flat base keeps your tank steady and safe.
Here’s how you can prepare your site:
Study the soil. Check if it can hold the weight of your tank. If you’re not sure, ask a local expert or use a simple soil test kit.
Level the ground. Use a rake or shovel to make the surface even. You want the base to be perfectly horizontal.
Choose the right foundation. If your soil is soft, add a layer of compacted sand or gravel. Compact the sand well so it stays firm.
Plan for drainage. Make sure rainwater flows away from your tank. You don’t want water to pool around the foundation.
Tip: Good site preparation helps your tank last longer and prevents problems like leaks or shifting.
Tank Placement Guidelines
When you install a rainwater harvesting system, you need to think about where to put your tank. Pick a spot that is close to your gutters and downspouts. Make sure the tank is not too close to your house or property lines. Leave enough space for maintenance and safety.
Follow these guidelines for tank placement:
Place the tank at least six feet away from your home’s foundation. This keeps water from pooling and causing damage.
Use sloped ground if possible. Water drains better and stays away from your tank.
Make sure you have easy access to the tank for cleaning and checking.
Avoid placing the tank under trees. Falling branches or leaves can cause damage or block sunlight.
If you plan on designing your system for future upgrades, leave extra space for more tanks or a pump system. Think about how you will connect pipes and filters. Planning ahead saves time and money.
Note: Tank placement affects how well your rainwater harvesting system works. A good spot makes maintenance easier and keeps your water clean.
Gutter and Downspout Setup
Now you’re ready to set up gutters and downspouts. Gutters catch rainwater from your roof and send it to your tank. Downspouts move the water down and away from your house.
Here’s a step-by-step guide:
Install gutters along the edge of your roof. Make sure they tilt slightly so water flows toward the downspouts.
Place a downspout every 40 to 50 feet along the gutter. This helps collect more water and prevents overflow.
Put downspouts at the corners of your house. This looks neat and helps water move away from your home.
Make sure water from the downspouts goes at least six feet away from your foundation. Use pipes or splash blocks to guide the water.
Use sloped terrain to help water drain away from your house and toward your tank.
Gutters cost extra, but they help you catch more water. If you collect water from your whole roof, you get more for your garden and home. Rainwater is free, but installing your system can cost money. Over time, you save on utility bills.
Connecting Diverters and Filters
You want clean water in your tank. Diverters and filters help remove dirt and leaves before water enters the tank. You can connect these parts easily.
Here’s a simple table to show you how to connect diverters and filters:
Step | Description |
|---|---|
1 | Install above-ground diverters between downpipes and the tank. Connect all downpipes to one pipe before the tank. |
2 | Place underground diverters near the tank to manage water between rain events. |
3 | Add leaf eaters to filter debris before water reaches the diverter. This keeps water cleaner. |
4 | Size the first flush chamber correctly. It should divert dirty water but not waste clean water. |
5 | Clean and check the diverter often, especially after storms. |
You can combine diverters with advanced filter accessories for better results. Clean the diverter regularly. Check the ball valve to stop clogs. This keeps your rainwater harvesting system running smoothly.
Tip: Clean filters and diverters after big storms. This helps you avoid clogs and keeps your water fresh.
When you install a rainwater harvesting system, you make your home more eco-friendly. You also get more control over your water. Installing your system step by step makes the process easy and fun.
Installing the Storage Tank
You have your site ready. Now it’s time to install your storage tank. This step is exciting because you can see your rainwater system coming together. Let’s walk through the process so you feel confident.
Step-by-Step Guide to Installing Your Storage Tank:
Prepare the Tank Base:
Pick a strong base for your tank. You can use concrete or compacted gravel and sand. Make sure the base is level and free from rocks or roots. A flat base keeps your tank steady and safe.Position the Tank:
Place your tank on the prepared base. Check that it sits flat and does not wobble. If your tank is large, ask a friend for help or use a dolly. You want the tank close to your gutters and downspouts, but leave space for maintenance.Fit the Overflow Drainage Pipe:
Connect the overflow pipe to your tank. This pipe lets extra water flow out when the tank is full. Aim the overflow away from your house, toward a stormwater drain or a safe spot in your yard. You can add an insect-proof flap valve to keep bugs out.Install Fill Pipes from Your Roof:
Attach the pipes that bring water from your roof to the tank. Make sure the pipes have filters if you plan to use the water for drinking or cooking. Secure all connections so water flows smoothly.Check for Stability:
Look at your tank and make sure it does not lean or shift. If you see movement, adjust the base or add more gravel. A stable tank lasts longer and keeps your water safe.
Tip: If you live in a cold area, pick a tank that can handle freezing temperatures. In hot places, choose a tank that blocks sunlight to stop algae growth.
Cost Considerations:
Storage tanks come in many sizes and materials. Plastic tanks cost less and are easy to move. Metal tanks last longer but cost more. Concrete tanks are strong and good for underground use. Think about your budget and how much water you want to store. You can start with a small tank and add more later.
Quick Table: Storage Tank Choices
Tank Type | Pros | Cons |
|---|---|---|
Plastic | Light, affordable | Can crack in extreme cold |
Metal | Durable, long-lasting | Higher price |
Concrete | Strong, good for underground | Heavy, needs special base |
You can pick the tank that fits your needs and your yard. Take your time and make sure your tank is ready for the next steps.
System Connection and Testing
You have your tank in place. Now you need to connect the rest of your system and test it. This part makes sure your rainwater harvesting works well and gives you clean water.
How to Connect and Test Your Rainwater Harvesting System:
Start with Your Roof Surface:
Make sure your roof is clean and safe for rainwater collection. Metal roofs work best, but you can use other types if they do not release toxins.Install Gutter Protection:
Add screens or guards to your gutters. These keep leaves and debris out of your system. You can use any type of gutter, but screens help you collect cleaner water.Add a Rain Head (Downspout Filter):
Place a filter at the top of your downspout. This filter cleans water as it flows from the roof. It also helps remove dirt and leaves.Use a First-Flush Diverter:
Connect a diverter to your downspout. This tool sends the first dirty water away from your tank. You get cleaner water and less maintenance.Install a Tank Screen:
Put a screen at the tank entry. This keeps pests and debris out. You can check the screen after storms to make sure it stays clean.Fit an Insect-Proof Flap Valve:
Add a flap valve to your overflow pipe. This stops bugs from getting into your tank.Choose a Pump System:
If you want pressurized water for your garden or home, install a pump. Pick a pump that matches your tank size and water needs.Add an Irrigation Filter:
Place a filter after your pump. This catches any debris before water goes to your garden or home.Install a Water Level Indicator:
Put a gauge or indicator on your tank. This shows how much water you have. You can check it before watering your plants or using water indoors.Test Your System:
Run water through your gutters, pipes, and tank. Check for leaks or clogs. Make sure water flows smoothly from your roof to your tank. If you see problems, fix them before the next rain.
Note: Testing your system helps you catch issues early. You can fix leaks, clear clogs, and make sure your water stays clean.
Beginner Tips:
Start small and add more parts as you learn.
Clean filters and screens after big storms.
Check your tank and pipes every month.
You can enjoy your rainwater harvesting system once you finish these steps. You get clean water for your garden, home, and more. Testing and checking your system keeps it running for years.
Maintenance and Troubleshooting
Cleaning and Inspection
Keeping your rainwater harvesting system clean helps it last longer and work better. You don’t need fancy tools—just a regular schedule and a little attention. Here’s a simple table to help you remember what to check and when:
Timing | Tasks to Perform | Notes |
|---|---|---|
Monthly | – Check debris screens | |
– Clean mesh pre-filters | ||
– Empty first-flush diverters | ||
Quarterly | – Inspect UV sterilizers | |
– Check tank seals | ||
Semi-Annual | – Service vortex filters | |
– Inspect UV sterilizers | ||
– Check tank seals | ||
Annual | – Conduct a full system inspection | Best done in dry season |
You can print this table and hang it in your garage or near your tank. When you follow this routine, you catch small problems before they turn into big ones. If you notice anything odd, like a strange smell or cloudy water, check your filters and tank right away.
Preventing Clogs and Leaks
Nobody likes dealing with clogs or leaks. The good news? You can stop most problems before they start. Here are some easy ways to keep your system running smoothly:
Place downspouts in smart spots to help water flow and avoid puddles near your house.
Clean gutters and downspouts often. Leaves and twigs can block water and cause overflows.
Add gutter protection screens to catch big debris. A rain head filter gives you extra cleaning power.
Use a first-flush diverter. This tool keeps the dirtiest rainwater out of your tank.
Check all seals and joints for drips. Tighten or replace them if you see leaks.
Tip: After a big storm, walk around your system. Look for any blockages or leaks. Fixing them early saves you time and money.
Seasonal Care
Your rainwater system needs different care as the seasons change. Each season brings its own challenges, so a little attention goes a long way.
Spring: Inspect your roof and gutters for winter damage. Clean out first-flush diverters and test your water quality. Spring is a great time to get your system ready for heavy rains.
Summer: Watch your water levels. Hot weather can make water evaporate faster. Keep gutters clear and check for mosquitoes or algae. If you see green slime, clean your tank and add a cover.
Fall: Drain your tank if you live in a cold area. Clean out any sludge at the bottom. Look for leaks or cracks before winter sets in.
Remember: Regular care keeps your rainwater harvesting system safe and efficient all year long. You’ll enjoy clean water and fewer headaches!
Common Issues and Fixes
You might run into a few bumps with your rainwater harvesting system. Don’t worry! Most problems are easy to spot and fix. Let’s look at the most common issues and how you can handle them.
Common Problems You May See:
Debris and Contamination: Leaves, twigs, and dirt can sneak into your tank if you don’t have good screens. This can lead to algae growth and make your water smell bad.
Tank Sizing Trouble: Sometimes, your tank fills up too fast. If your tank is too small, you’ll see water overflow and waste.
Overflow Issues: If your overflow pipe is too tiny, water can back up and spill out. Poor drainage can send water right next to your house, which isn’t safe.
Diverter Maintenance: First-flush diverters need regular cleaning. If you forget, dirty water can get into your tank and cause problems.
Tip: Check your screens and filters after every big storm. You’ll catch debris before it gets into your tank.
How to Fix These Problems:
Clean Out Debris: Open your tank and look for leaves or dirt. Use a net or scoop to remove them. Clean your screens and filters every month.
Resize Your Tank: If you notice overflow often, you may need a bigger tank. Write down how much water you collect and use. Upgrade your tank if you need more storage.
Improve Overflow Pipes: Make sure your overflow pipe is wide enough. A 2-inch pipe works for small tanks, but bigger tanks need larger pipes. Aim the overflow away from your house, maybe toward a garden or drain.
Direct Overflow Wisely: Don’t let water pool near your foundation. Use pipes or splash blocks to send overflow to a safe spot.
Maintain Diverters: Open your diverter chamber and rinse it out. Do this every few months, or after heavy rain. This keeps your water cleaner.
Here’s a quick table to help you spot and fix issues:
Problem | What You See | What To Do |
|---|---|---|
Debris in tank | Leaves, dirt, algae | Clean screens and tank |
Overflow | Water spills out | Upgrade tank or overflow pipe |
Poor drainage | Puddles near house | Redirect overflow |
Dirty diverter | Smelly water | Clean diverter chamber |
Note: You can fix most problems with simple tools and a little time. If you see something strange, check your system right away.
You don’t need to be an expert to keep your rainwater system running well. Stay alert, clean your parts, and make small upgrades when needed. Your system will give you clean water and peace of mind!
Safety and Best Practices
Water Quality and Usage
You want your rainwater to stay clean and safe. Rainwater is very pure when it falls. It does not have heavy metals or hard minerals. But you still need to filter it. Filters take out leaves, dust, and germs. This keeps your water safe to use.
Here are some things to remember about water quality:
Rainwater is pure and does not have most bad chemicals.
Filters remove dirt and germs from the water.
You should make a plan to keep your water safe.
Keeping people healthy is the most important thing.
If you want to drink or cook with rainwater, you must be extra careful. Most people use rainwater for gardens, toilets, or cleaning. Always check your local rules before using rainwater inside your house.
Tip: Clean your filters and screens often. This keeps your water fresh and safe to use.
Mosquito and Algae Prevention
Mosquitoes and algae can be a problem in your tank. You want to keep them out so your water stays clean. Here are some easy ways to stop these problems:
Cover or seal all tank openings to block mosquitoes.
Make sure pipes let water out but keep bugs from getting in.
Keep gutters free of leaves and other junk.
Check your system often for holes or leaks.
Remove any standing water near your tank.
Use safe products if you need to stop mosquito babies.
Algae grows when sunlight gets into your tank. You can stop algae by covering your tank and using dark materials. Clean your tank often to help stop algae.
Note: If you see green water or bugs in your tank, clean it right away. Fixing problems fast keeps your system healthy.
Environmental Impact
Rainwater harvesting helps the planet in many ways. You pay less for water and use less from the city. Using rainwater means you need less treated water. This helps rivers and lakes stay healthy.
Here is a quick look at the good things rainwater harvesting does:
Impact Area | Reduction (%) |
|---|---|
Total environmental impact | |
Water treatment plants | Up to 23 |
Potable water distribution | 19 |
Wastewater treatment | 11.3 |
A simple rain barrel can save up to 1,200 gallons of water each year for your garden. That saves you about $20-$60. For every 1,000 square feet of roof, you can collect about 550 gallons for each inch of rain. Multiply your roof size by 550 and your yearly rainfall to see how much water you can collect.
🌱 You help the earth and save money by using rainwater. Every drop you collect makes a difference!
You can install a rainwater harvesting system at home, even if you are new to it. Here are some key takeaways:
Learn about different system types and their uses.
Get to know the main parts like roofs, gutters, and tanks.
Use your collected water for gardens or flushing toilets.
Rainwater harvesting helps you save money, manage stormwater, and boost your water security. Check out these common questions:
Question | Answer |
|---|---|
What are the main parts? | Collection surface, gutters, downspouts, filters, tanks, and pipes. |
Can I drink rainwater? | Yes, but you need proper filtration and disinfection. |
What should I plan before starting? | Choose the right tank size and make sure your tank has a strong base. |
Ready to start? Share your questions or your own rainwater harvesting story below! 🌧️💧
FAQ
How much rainwater can you collect from your roof?
You can collect about 550 gallons for every 1,000 square feet of roof with each inch of rain. Check your roof size and local rainfall to estimate your total.
Can you use rainwater for drinking?
You can drink rainwater if you filter and disinfect it properly. Most people use it for gardens, toilets, or cleaning. Always check local rules before using rainwater indoors.
What maintenance does your system need?
You should clean filters, screens, and tanks regularly. Inspect gutters and diverters after storms. Write a schedule to help you remember each task.
Do you need a permit to install a rainwater harvesting system?
Some areas require permits or inspections. Ask your local government before you start. Following the rules keeps your water safe and avoids fines.
How do you keep mosquitoes out of your tank?
Cover all openings and use insect-proof valves. Remove standing water near your tank. Check for leaks and holes often.
What is a first-flush diverter and why do you need it?
A first-flush diverter sends the dirtiest rainwater away from your tank. You get cleaner water and less maintenance. It helps your system last longer.
Can your rainwater harvesting system work in winter?
Yes, but you need to drain your tank if you live in a cold area. Pick tanks that handle freezing temperatures. Clean your system before winter starts.
How much does it cost to install a basic system?
A simple rain barrel setup costs $100–$300. Larger systems with tanks and filters can cost $1,000 or more. You save money over time by using less city water.








 English
 Chinese
 German
 Russian
 Japanese
 French
 Dutch
 Italian