






You want safe, clean water at home, right? The best reverse osmosis system gives you peace of mind and fresh drinking water solutions. You need to look at your water quality, system type, certifications, and features before you decide. Over 70% of households in the United States use some kind of water filtration system, so you’re not alone. Make sure the best reverse osmosis system fits your needs and budget. This guide helps you take each step with confidence.
Assess Water Quality

You want the best water for your family, so start by understanding your water quality. This step helps you pick the right reverse osmosis system and avoid wasting money on features you do not need.
Test for Contaminants
Testing your water is the first thing you should do. You can use a home test kit for a quick check, but sometimes you need more detailed results.
Common Issues in Tap Water
Many homes face water quality issues. According to recent EPA reports, these are the most common contaminants found in tap water:
Microorganisms (like E. coli, norovirus, Giardia)
Inorganic chemicals (such as lead, arsenic, nitrates, nitrites)
Organic chemicals (including atrazine, glyphosate, trichloroethylene, tetrachloroethylene)
Disinfection byproducts (for example, chloroform)
If you see any of these in your water report, you know what to target with your filtration system.
When to Get Professional Testing
Sometimes, a home test kit does not give you enough information. If you notice strange smells, colors, or tastes, or if you live near farms or factories, get your water tested by a professional. Local water quality reports can also help you spot specific problems. These reports show you which contaminants are present, so you can choose a system that focuses on the right contaminant removal.
Tip: Review your local water report every year. Water quality can change over time, especially if your city updates its pipes or water source.
Set Water Quality Goals
Once you know what is in your water, set clear goals for your drinking water quality. The World Health Organization suggests these targets for safe water:
Water Quality Goal | Description |
|---|---|
Health-based targets | Set local standards and rules to protect your health. |
Water Safety Plans | Use risk management from the water source to your tap. |
Independent surveillance | Make sure your water plan works and meets national standards. |
Think about what matters most to you. Do you want to remove all traces of lead? Are you worried about bacteria? Your goals will shape your choice of system.
Here is how different contaminants affect your reverse osmosis system:
Component | Function |
|---|---|
Pre-filters | Remove larger particles, chlorine, and sediment before water reaches the RO membrane. |
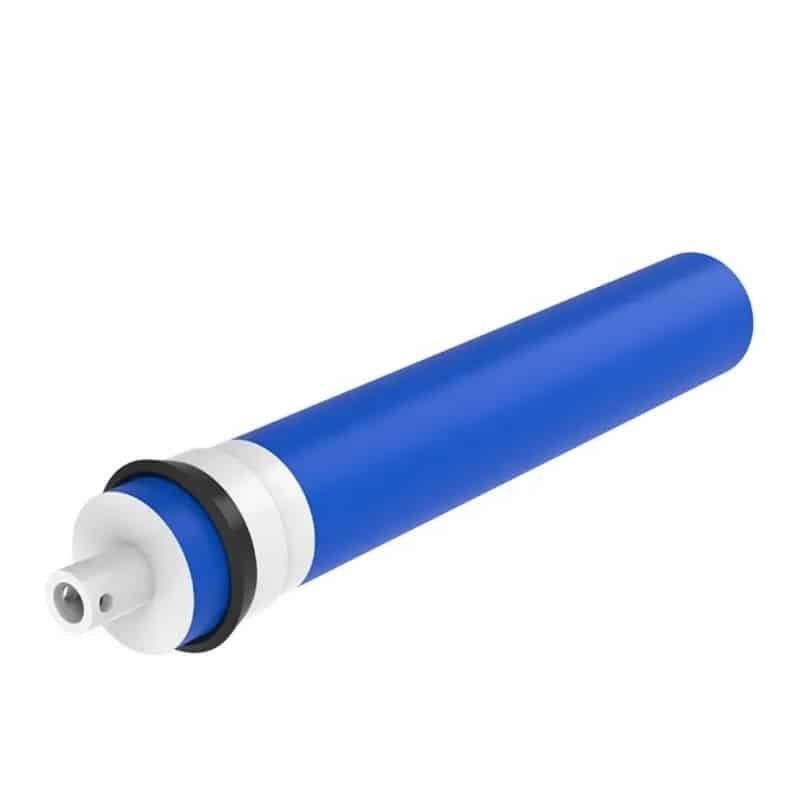
Reverse Osmosis Membrane | Filters out dissolved solids and contaminants at a microscopic level. |
Post-filters | Enhance taste and clarity after water passes through the RO membrane. |
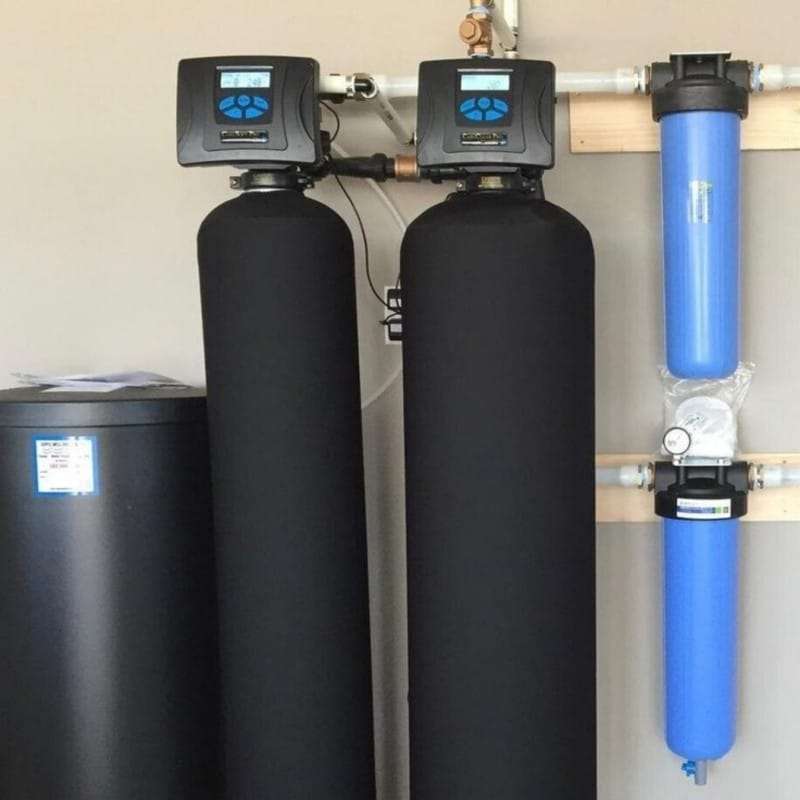
If you have a lot of sediment, you need strong pre-filters. If you want the best taste, look for a system with a good post-filter. For homes with many water quality issues, a whole home water filtration system might be the best choice. This type of system treats all the water entering your house, not just what you drink.
You can also combine a whole home water filtration system with a reverse osmosis unit under your sink for extra protection. This gives you complete water treatment solutions for every tap.
By testing your water and setting clear goals, you make sure your new system matches your needs. You get peace of mind and better water for your family.
Choose the Right Reverse Osmosis System Type

Choosing the right system can feel overwhelming, but you can break it down by looking at where you want clean water, how much space you have, and your daily water needs. Let’s walk through the main options so you can find the best fit for your home.
Point-of-Use vs. Point-of-Entry
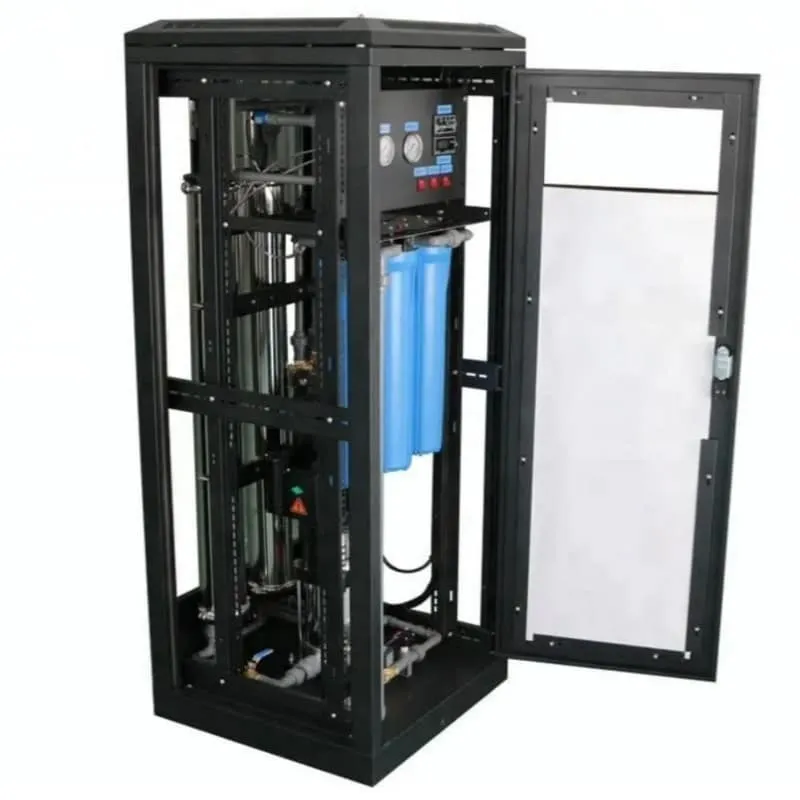
You’ll see two main types: point-of-use (POU) and point-of-entry (POE) systems. POU systems treat water at a single spot, like your kitchen sink. POE systems filter all the water coming into your house.
System Type | Contaminant Removal | Capacity | Installation Location |
|---|---|---|---|
Point-of-Entry (POE) | General water quality improvement, not ideal for ultra-pure water | High capacity, several thousand gallons per day | Whole house |
Point-of-Use (POU) | Up to 99% of contaminants, including lead and fluoride | Lower capacity, 20-100 GPD | Specific points like kitchen sinks |
POU systems work best if you want ultra-pure drinking water. POE systems make sense if you want to improve water for showers, laundry, and every tap. When sizing your ro system, think about how much water you use each day and where you want the cleanest water.
You should also consider cost and maintenance:
Factor | Point-of-Use (POU) | Point-of-Entry (POE) |
|---|---|---|
Installation Location | Installed at specific locations (e.g., under sink) | Installed at main supply line for the whole house |
Treated Water Volume | Typically treats 10 to 100 gallons per day | Treats all water entering the home |
Maintenance | Less frequent | |
Cost | Higher initial cost | |
Use Case Scope | Best for drinking water | Best for whole-home needs |
Tip: If you only care about drinking and cooking water, a POU system saves money and maintenance time.
Tank vs. Tankless Systems
You’ll also need to choose between tank and tankless reverse osmosis systems. Each has its own strengths and weaknesses.
Feature | Tankless Reverse Osmosis System | Tank Reverse Osmosis System |
|---|---|---|
Advantages | Takes up less space; water is fresher; less wastewater | No power needed; more affordable |
Disadvantages | More expensive; needs electricity | Takes up space; water can taste ‘off’ if stored too long |
Tankless systems fit well in small spaces and deliver water on demand. Tank systems cost less and don’t need power, but they take up more room and can sometimes affect taste. When sizing, think about your kitchen layout and how much water you need at once.
Countertop vs. Under-Sink
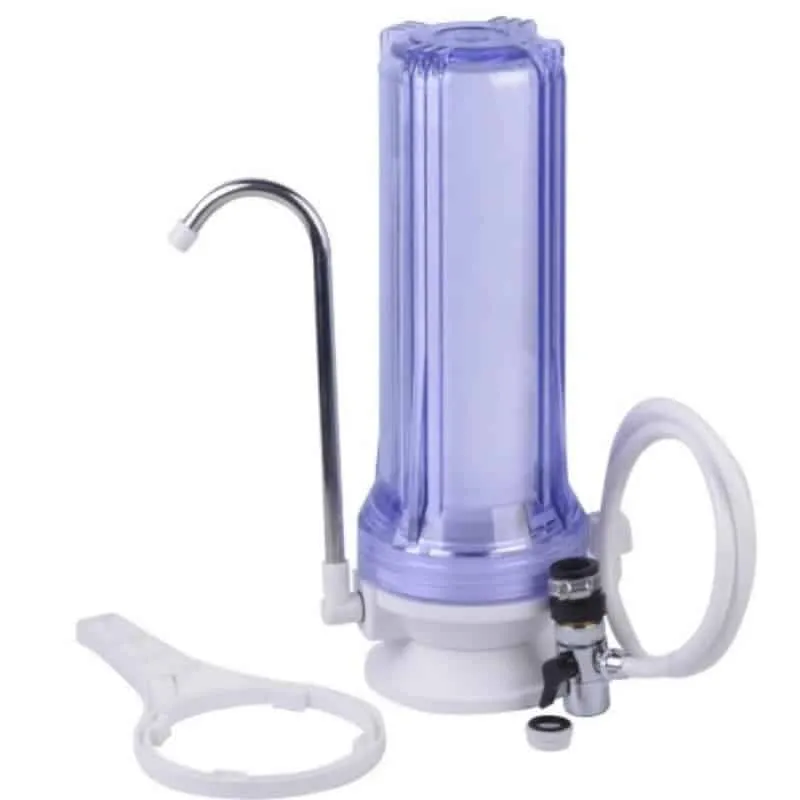
Space matters when you pick between countertop and under-sink models. Countertop systems sit on your counter, about the size of a coffee maker. They’re easy to install and move, which is great if you rent or have limited cabinet space. Under-sink systems hide away in your cabinet, keeping your kitchen tidy and freeing up counter space. This works best if you have enough room under your sink.
Countertop systems can crowd your workspace but are easy to set up.
Under-sink systems stay out of sight and give you more counter space.
If you want a clean look and have the space, go with under-sink. If you need something portable or can’t drill into cabinets, a countertop model is your best bet.
No matter which type you choose, focus on sizing your ro system to match your water use and kitchen space. The right choice will make your daily routine easier and your water safer.
Key Features of the Best Reverse Osmosis System

Filtration Stages
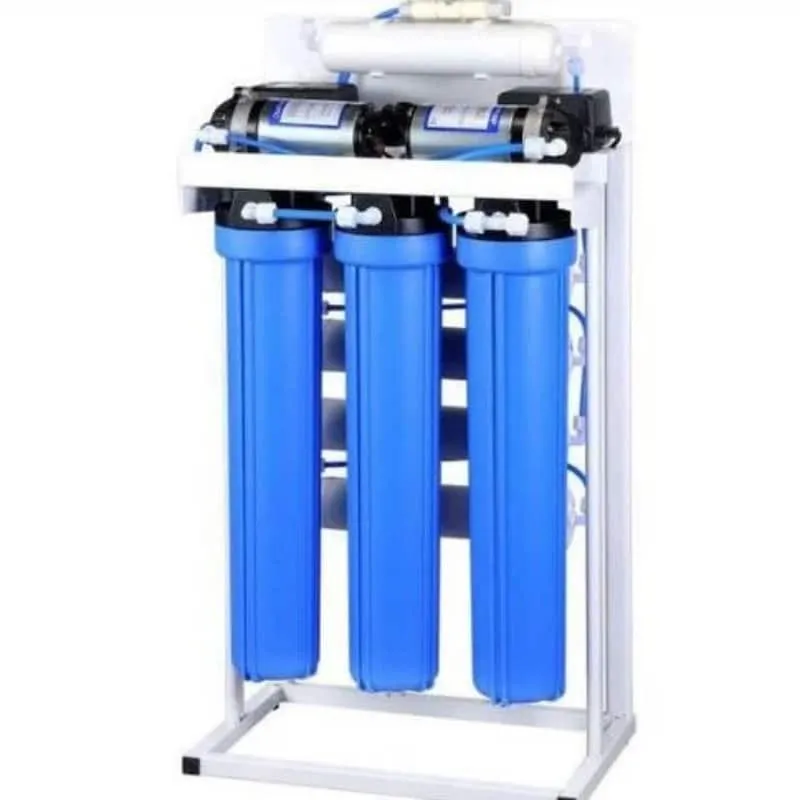
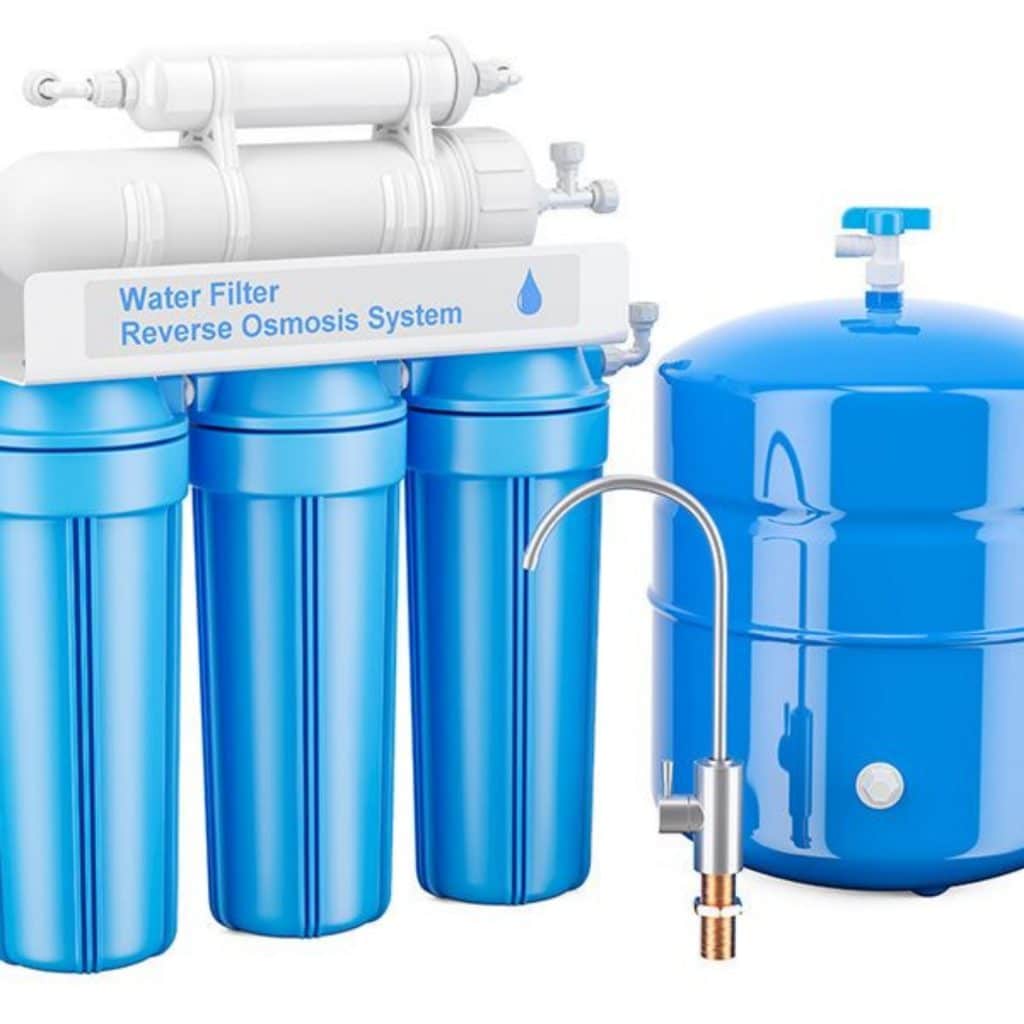
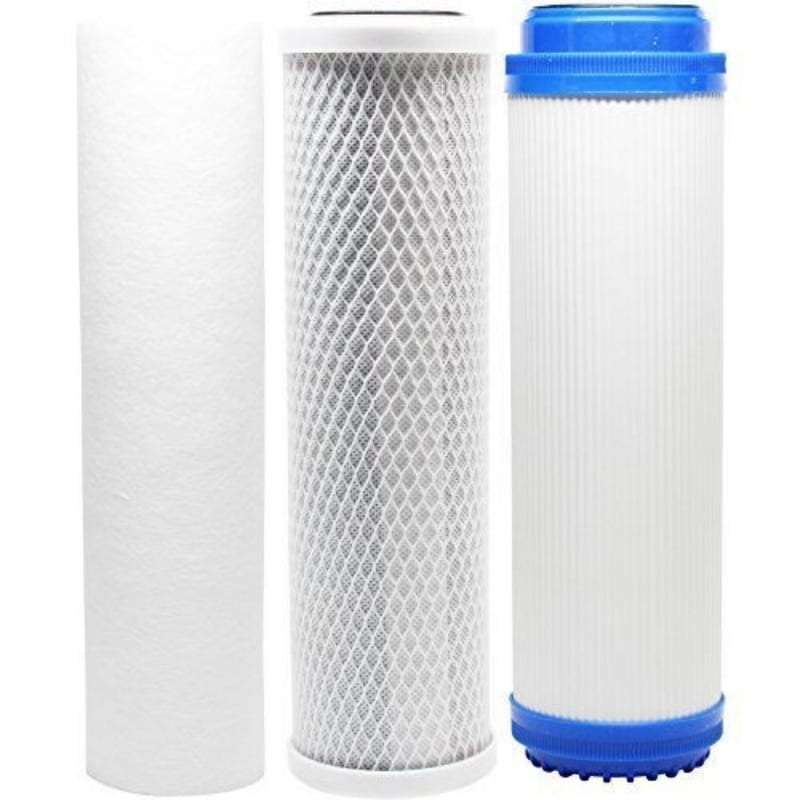
When you look for the best reverse osmosis system, pay close attention to the number and type of filtration stages. Each stage in a water filtration system targets different contaminants. A basic reverse osmosis system usually has three stages, but a multi-stage reverse osmosis system can have five or more. More stages often mean better contaminant removal and higher drinking water quality.
Here’s what you might find in a typical reverse osmosis system:
Sediment Filter: This first stage catches dirt, sand, and rust. It protects the reverse osmosis membrane from clogging.
Carbon Filter: This stage removes chlorine, bad tastes, and odors. It also helps protect the membrane.
Reverse Osmosis Membrane: This is the heart of the system. It removes dissolved solids, heavy metals, and many chemicals.
Post-Carbon Filter: This final stage polishes the water, making sure you get high-quality water with a clean taste.
Optional Stages: Some systems add UV lights or remineralization filters. These can kill bacteria or add healthy minerals back into your water.
If you want the best reverse osmosis for your home, look for a system with at least four stages. More stages can help if your water quality is poor or if you want extra peace of mind. Always match the reverse osmosis system stages to your specific water needs.
Tip: If you have hard water or lots of contaminants, a multi-stage reverse osmosis system will give you better results.
NSF Certification (Standard 58)
Not all reverse osmosis systems are created equal. You want a water treatment system that meets strict safety and performance standards. That’s where NSF/ANSI Standard 58 comes in. This certification means the system has passed independent tests for contaminant removal, structural integrity, and material safety.
When you see NSF 58 certification on a water filtration system, you know it can remove common contaminants like lead, arsenic, and fluoride. It also means the system won’t add anything harmful to your water. Always check for this label before you buy. It’s one of the best ways to make sure you get a high-quality water treatment system.
Why NSF 58 matters:
Verifies contaminant removal claims
Ensures safe materials and construction
Confirms the system meets strict performance standards
If you want the best reverse osmosis, don’t skip this step. NSF certification gives you confidence that your water filtration system will deliver safe, clean water every day.
Water Pressure Requirements
Water pressure plays a big role in how well your reverse osmosis system works. If the pressure is too low, the system will produce water slowly and may not remove contaminants as well. If the pressure is too high, it can stress the system.
Most reverse osmosis systems work best with water pressure between 40 and 80 psi. The sweet spot is around 60 psi. Here’s a quick guide to help you understand how pressure affects your system:
Pressure at RO (psi) | Description | Behavior and Concerns |
|---|---|---|
Below about 40 | Insufficient for residential RO | Very slow or no production, poor contaminant rejection |
Around 50–60 | Practical sweet spot | Good production, strong rejection |
Around 65–80 | Most efficient zone | Higher output and strong rejection |
Around 80–90 | Upper design band | Can restore performance in challenging conditions |
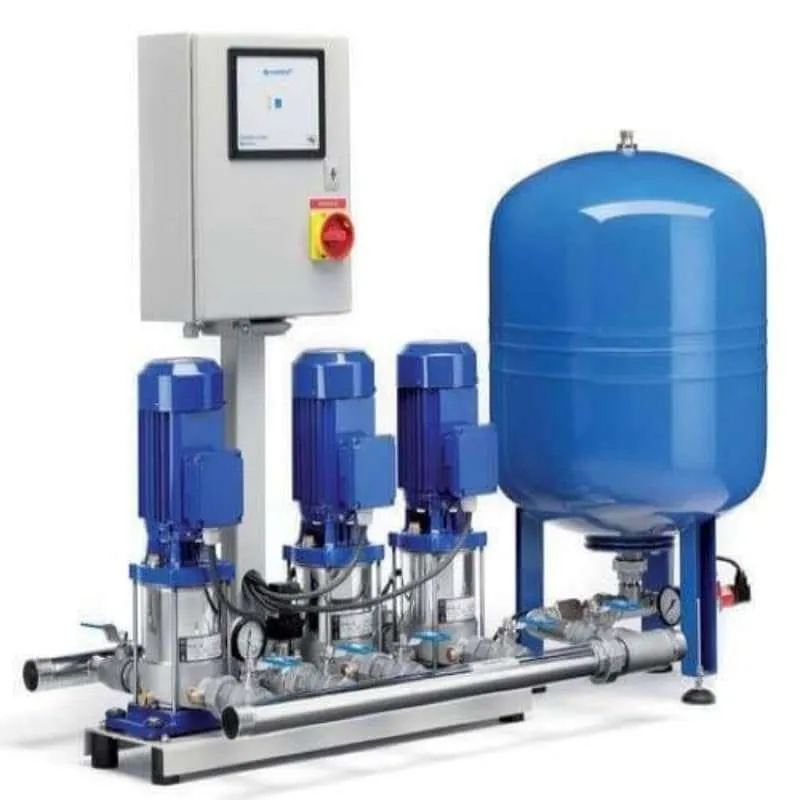
If your home’s water pressure is below 40 psi, you may need a booster pump. This small upgrade can make a big difference in water quality and system performance. On the other hand, if your pressure is too high, a pressure regulator can protect your reverse osmosis system from damage.
Note: Always check your water pressure before installing a new water filtration system. This simple step helps you get the best results and extends the life of your system.
By focusing on these key features—filtration stages, NSF certification, and proper water pressure—you set yourself up for success. You’ll enjoy better water quality, fewer headaches, and a water treatment system that fits your needs.
Water Waste Ratio
You might not realize it, but every reverse osmosis system creates some wastewater during the filtration process. The water waste ratio tells you how much water gets used to make one gallon of purified water. If you want to save money and help the environment, you should pay attention to this number.
Older systems often waste a lot of water. For every gallon of clean water, they might send four gallons down the drain. Modern systems do much better. Some new models only waste one gallon for every gallon they purify, or even less. Here’s a quick look at how things have changed:
System Type | Water Waste Ratio |
|---|---|
Traditional Systems | 1:4 |
Modern Systems | 1:2, 1:1, 2:1 |
If you want the best reverse osmosis system for your home, look for a low water waste ratio. This feature saves you money on your water bill and helps you use resources wisely. Some of the best reverse osmosis units now offer a 1:1 or even 2:1 ratio, which means you get more clean water with less waste.
Tip: If you live in an area with high water costs or drought, a low water waste ratio should be at the top of your list.
Storage Tank Size
The size of your storage tank matters more than you might think. You want a tank that matches your daily water needs. If your tank is too small, you might run out of purified water during busy times. If it’s too big, you could waste space under your sink.
A small tank sits above a pressurized air chamber. This setup can limit how much water you get at once and may lower the pressure at your faucet. Larger tanks use gravity to help push water out, so you get a steady flow and better efficiency. If you have a big family or use a lot of water for cooking, a larger tank makes sense. For a single person or a couple, a smaller tank usually works fine.
Think about how much water you use each day. If you drink a lot, cook often, or fill up water bottles, go for a bigger tank. If you only need a few glasses a day, a smaller tank will do the job and save space.
Note: The best reverse osmosis system for your home should have a tank size that fits your lifestyle. Don’t guess—take a look at your daily habits before you decide.
Filter Replacement Frequency
Keeping your reverse osmosis system in top shape means changing the filters on time. If you forget, your water quality drops and your system can wear out faster. Most experts say you should replace filters every 6 to 12 months, but your water quality and usage can change this schedule.
Here’s a quick guide to help you remember when to swap out each part:
Filter Type | |
|---|---|
Sediment/Carbon Combination Prefilter | 1-2 years |
RO Membrane | 3-5 years |
Specialty Cartridges | 1 year/1,000 gallons or 2 years/2,000 gallons |
Postfilter | 1 year/1,000 gallons or 2 years/2,000 gallons |
You’ll also want to think about cost. Here’s what you can expect to pay for each part:
Component | Replacement Frequency | |
|---|---|---|
Pre-filters | Every 6–12 months | $10–$20 each |
Carbon filters | Annually | $20–$40 each |
RO membrane | Every 2–3 years | $50–$100 each |
Replace pre-filters and carbon filters more often if your water has lots of sediment or chlorine.
Change the RO membrane every few years for the best performance.
Specialty cartridges and postfilters usually last one to two years.
If you want the best reverse osmosis water, stick to the replacement schedule. This habit keeps your water tasting fresh and your system running smoothly. You’ll also avoid surprise costs from worn-out parts.
Reminder: Mark your calendar or set a phone alert for filter changes. Staying on schedule means you always get the cleanest water possible.
Compare Costs and Value

Choosing a reverse osmosis system is not just about clean water. You also want to make sure you get the best value for your money. Let’s break down the costs and what you get in return.
Upfront vs. Ongoing Costs
When you shop for a water filtration system, you’ll notice a wide range of prices. Some systems cost less at first but may cost more to maintain. Others have a higher price tag but save you money over time.
Here’s what you can expect for upfront costs:
The installation cost of reverse osmosis systems ranges from $250 to $1,475.
Portable systems usually cost less.
Under-sink models with larger tanks and advanced filtration cost more.
You should also think about ongoing costs. These include filter changes, membrane replacements, and any plumbing services you might need. Over five years, you might spend:
$40 to $90 per year for filter replacements on smaller systems.
$100 to $300 per year for larger systems.
$30 to $100 for a new membrane every two to five years.
In total, plan for $175 to $600 per year for maintenance.
Tip: Don’t just look at the sticker price. Add up the costs over five years to see which water treatment system fits your budget.
Filter Replacement and Maintenance
Keeping your water filtration system in top shape means regular maintenance. You’ll need to replace filters and membranes on schedule. If you skip this step, your water quality drops and your system can wear out faster.
Here’s a quick checklist to help you plan:
Change pre-filters and carbon filters every 6–12 months.
Replace the reverse osmosis membrane every 2–5 years.
Schedule annual checkups for your whole home water filtration system if you have one.
Some systems make filter changes easy with quick-connect fittings. Others need tools and a bit more time. If you want less hassle, look for a system with simple maintenance steps. This keeps your water treatment solutions running smoothly and saves you time.
Warranty and Support
A good warranty gives you peace of mind. You want to know your investment is protected if something goes wrong. Leading manufacturers offer different warranty terms, so it pays to compare.
Manufacturer | Warranty Duration | Conditions/Exclusions |
|---|---|---|
APEC Water Systems | 1 year (extendable to 2 years upon registration) | Must register within 8 weeks of purchase for extended warranty. |
US Water Systems | 5 years on certain components, 2 years on permeate pumps | Warranty applies only to original owners and specific conditions apply. |
APEC Water Systems gives you a one-year warranty, which you can extend to two years if you register your product.
US Water Systems covers filter housings and tanks for five years and permeate pumps for two years, but only for the original owner.
If you choose a whole home water filtration system, check the warranty for each part. Some companies cover tanks and housings longer than pumps or electronics. Always read the fine print so you know what’s included.
Note: Good customer support can make a big difference. Look for brands with helpful service teams and clear warranty terms. This way, you get the most from your water treatment system.
By comparing costs, maintenance, and warranty, you can pick a reverse osmosis system that delivers great value and reliable water treatment for years to come.
How to Select the Best Reverse Osmosis System for Your Home

Match Features to Needs
You want a system that fits your life, not just your kitchen. Start by thinking about your water source. City water and well water have different challenges. Test your water to see what you need to remove. Maybe you worry about lead, or maybe you want to get rid of that chlorine taste.
Next, look at how much water you use. Do you fill big pitchers every day, or just a few glasses? If you host parties or have a large family, you need a bigger membrane and tank. If your water has lots of sediment, you need strong prefilters. For better taste, choose a system with a good postfilter or remineralization stage.
Here’s a quick table to help you match features to your needs:
Feature | Why It Matters |
|---|---|
Membrane Size | Pick a larger size if you use lots of water or entertain guests often. |
Prefilters | Go for robust options if your water quality is poor or you have well water. |
Postfilters | Choose these to remove tastes and odors; remineralization adds healthy minerals. |
You get the best results when you match your home reverse osmosis system to your water quality and daily habits.
Read Reviews and Brand Reputation
Don’t skip the research. Customer reviews give you real-world insight. Look for feedback on water quality, system capacity, and how easy it is to maintain. People often mention if the system wastes too much water or if filters are hard to change.
Check if the system has certifications. NSF certification means the system passed independent tests. Brands with a strong reputation usually offer better customer support and reliable warranties. You want a company that stands behind its product.
Here’s a checklist for reading reviews:
Check for independent testing on contaminant removal.
See what people say about maintenance and filter changes.
Notice comments on water taste and pressure.
Pay attention to warranty and customer support stories.
A little research now saves you headaches later.
Where to Buy and What to Avoid
You can buy a reverse osmosis system online or in stores. Stick with reputable retailers and official brand websites. They offer real warranties and support. Avoid deals that seem too good to be true. Cheap systems often lack proper certification or use low-quality parts.
Watch out for these common mistakes:
Skipping a water test before buying.
Ignoring your water quality goals.
Choosing a system based only on price.
Forgetting about installation space or maintenance needs.
Overlooking the need for a holding tank or proper pretreatment.
Tip: Always read the installation guide before you buy. Make sure you have the right space and tools.
When you follow these steps, you get a system that fits your needs and keeps your water safe. Use a checklist, trust reputable brands, and focus on your water quality. You’ll enjoy clean, fresh water every day.
Installation and Maintenance Tips for Home Reverse Osmosis System

DIY vs. Professional Install
You might wonder if you can install your reverse osmosis system yourself. Many homeowners choose the DIY route because most kits include clear instructions and color-coded tubing. If you feel comfortable using basic tools and following step-by-step guides, you can save money by installing it yourself. Make sure you check your kitchen space and measure carefully—sizing matters for a smooth fit under your sink.
If you run into complex plumbing or have an older home, you may want to call a professional. Plumbers can handle tricky connections and ensure there are no leaks. They also help if you want to connect your system to your refrigerator or ice maker. When in doubt, professional installation gives you peace of mind.
Tip: Always turn off your water supply before starting any installation. Double-check all fittings for leaks after you finish.
Routine Maintenance
Keeping your system in top shape means regular care. You don’t want to wait until you taste something odd or see cloudy water. Here’s a quick table to help you remember the most important maintenance tasks:
Maintenance Task | Description |
|---|---|
Inspect and clean pre-filters | Check and clean these often to keep your system running smoothly. |
Monitor water pressure | Make sure your system has the right pressure for best results. |
Replace carbon filters | Swap these out regularly to keep water tasting fresh. |
Maintain storage tank cleanliness | Clean the tank to prevent bacteria and keep water pure. |
Test water quality and conductivity | Use test kits to check if your water stays safe and clean. |
Examine and clean membrane surface | Look for buildup and clean the membrane as needed. |
Address fouling issues | Watch for clogs or buildup that can slow down your system. |
Monitor recovery rates | Check how much water your system produces and adjust if needed. |
Implement regular system flushing | Flush the system to prevent mineral buildup and keep it efficient. |
Seek professional assistance | Call a pro for tough problems or yearly checkups. |
Set reminders for filter changes and tank cleaning. Regular maintenance keeps your home reverse osmosis system working at its best and extends its lifespan.
Troubleshooting
Even the best systems can run into problems. Here are some common issues and what you can do:
Low water production often means clogged filters, a worn-out membrane, or low water pressure. Check and replace filters first. If that doesn’t help, inspect the membrane and measure your water pressure.
Leaks usually happen at fittings, the storage tank, or filter housings. Tighten connections and check for worn-out O-rings.
No water flow? Make sure all valves are open and filters are in place. If water still won’t flow, it’s time to call a professional.
Low water pressure at the faucet can signal a problem with the tank or a clogged filter. Compare your output to the system’s specs and investigate further if it’s too low.
If you want a step-by-step approach, try this:
Check the storage tank. Make sure it’s full and the valve is open. Adjust pressure if needed.
If water is slow or low, look at the flow rate, feed pressure, and tank pressure.
If water constantly runs to the drain, inspect the automatic shut-off valve and flow restrictor.
Hear a noisy gurgle? Test the drain flow and check the drain saddle.
Notice a bad taste or smell? Change your filters or check the membrane for failure.
Note: If you ever feel stuck, don’t hesitate to call a professional. They can quickly diagnose and fix tough problems.
With regular care and quick troubleshooting, you’ll enjoy clean, safe water every day.
You can find the best reverse osmosis system by following a few smart steps:
Test your water and set your goals for high-quality water.
Choose a system with at least four filtration stages and NSF/ANSI certifications for safety and performance.
Look for efficient designs that minimize waste and make maintenance easy.
Consider features like remineralization and smart technology for better taste and convenience.
Check upfront and ongoing costs so you can plan your budget.
Use a checklist and trust your research. When you match the right features to your needs, you’ll enjoy clean drinking water and peace of mind.








 English
 Chinese
 German
 Russian
 Japanese
 French
 Dutch
 Italian